Why Custom Stickers Are Your Secret Engagement Weapon
Before we get into the nuts and bolts, let's talk about why this is worth your time. Custom stickers are way more than just a fun little accessory for your Stories—they're a seriously effective tool for branding and boosting engagement. Think of them as tiny, interactive billboards that people actually enjoy seeing and using.
They're a subtle but powerful way to keep your visual identity top-of-mind. Every single time someone sees your sticker, or better yet, uses it themselves, it reinforces brand recall. In the incredibly crowded world of Instagram Stories, that kind of repetition is gold.
With over 500 million accounts using Stories every single day, standing out is a real challenge. Recent data actually shows that Stories with interactive elements get a 21% higher interaction rate than those without. Custom stickers are a perfect way to tap into that desire for interaction, making your content feel more personal and look more polished. You can dig deeper into these numbers in this detailed analysis of Instagram Stories statistics.
Fostering a Community Vibe
When you design stickers that truly capture your brand's personality—maybe through inside jokes, your specific color palette, or unique catchphrases—you're handing your followers a piece of your brand they can share. This is huge for building a sense of community and belonging.
By turning your brand elements into shareable assets, you empower your audience to become brand advocates. They aren't just viewing your content; they are actively participating in it.
The best part is that going from a simple idea to a finished sticker is totally achievable. You don't need to be a professional graphic designer to learn how to make Instagram stickers that grab attention and forge a real connection with your audience.
Designing Stickers People Actually Want to Use
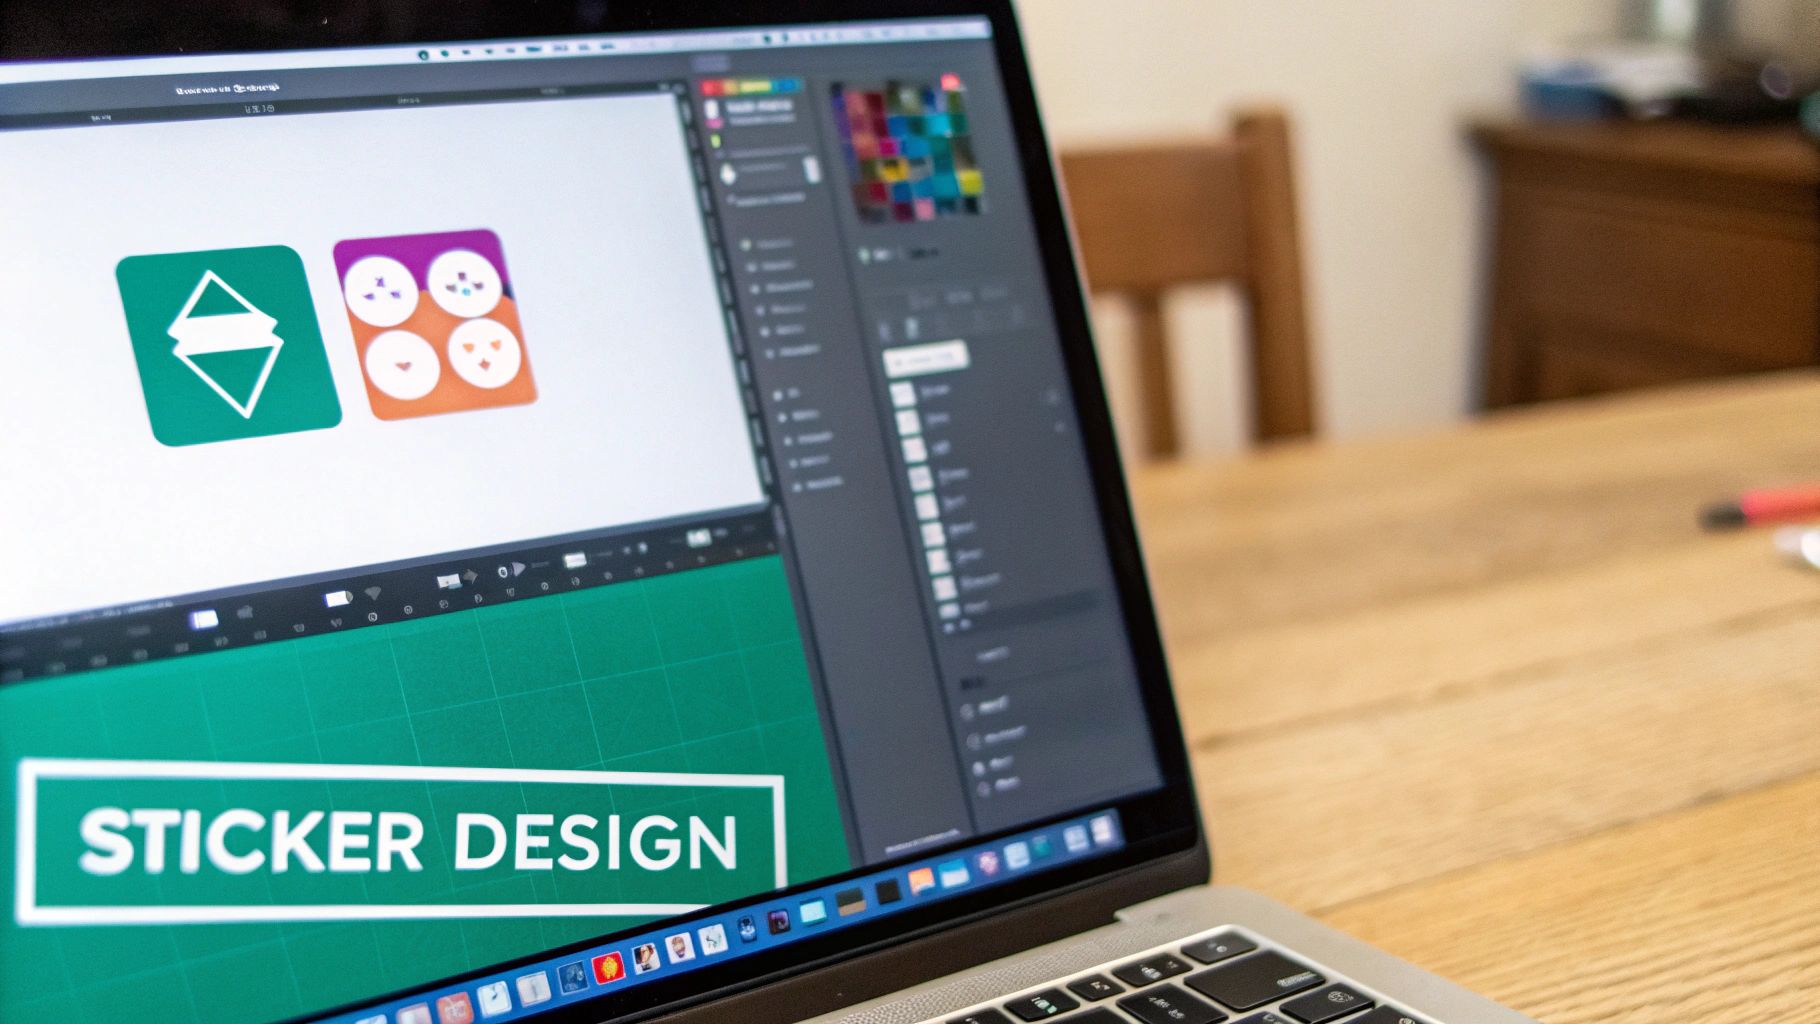
You don’t need to be a professional graphic designer to create a sticker that gets noticed. The secret is to think less about artistic perfection and more about making something clear, fun, and on-brand. Honestly, a simple tool like Canva has everything you need to get started.
The most important thing to remember is the sticker's natural habitat: it's going to be a small element slapped onto a busy photo or video. It needs to pop. That's why simplicity and legibility are your absolute best friends in this process.
Laying The Groundwork
Before diving into the fun part, a little technical setup will save you a headache later. Getting the canvas size right from the start is crucial for making sure your sticker looks sharp, not fuzzy, when people start using it.
Optimal Canvas Size: I always recommend starting with a 1080x1080 pixel square. It’s the sweet spot—high enough resolution for crisp details, but not so large that the file size becomes unmanageable.
Keep It Simple: Fight the urge to add tiny text or super intricate details. They just get lost. Bold shapes, clear illustrations, and easy-to-read fonts are what really work on a tiny screen.
Think of each sticker as a tiny billboard for a feeling or an idea. It has to do its job in a split second. If you're looking to really nail this, our guide on visual storytelling techniques has some great pointers that translate perfectly to sticker design.
Injecting Your Brand's Personality
This is where you make the sticker truly yours. You want people to see it and instantly connect it to your brand, not mistake it for some generic graphic anyone could use.
A local coffee shop, for instance, could design stickers of their signature latte art, a funny quote from a regular, or their logo dressed up for the holidays. A personal trainer could create stickers with their favorite motivational one-liners or simple icons of different exercises. It’s these specific, personal touches that make your content stick.
To make sure your designs are hitting all the right notes, here's a quick checklist to run through before you finalize anything.
Sticker Design Elements Checklist
This little guide helps me double-check that every sticker I create is ready for the real world of Instagram Stories.
Clarity: Use bold lines and high-contrast colors so your sticker stands out clearly on any background, whether photo or video.
Font Choice: Stick with legible sans-serif fonts and avoid thin or script styles — small, decorative text often becomes unreadable on mobile screens.
Branding: Incorporate subtle touches of your brand identity, like colors, logos, or mascots, to make your stickers instantly recognizable.
Relevance: Design with your audience’s tone, humor, and interests in mind — relatable stickers get shared and used more, boosting your reach.
Thinking through these points ensures you're not just making a pretty graphic, but a useful tool for your community.
My best advice: The most successful stickers feel authentic. Think about using a team member's face, an office pet, or an inside joke that your followers will get. These elements build an emotional connection and make people feel like part of the group.
If you're looking for inspiration on shapes that break the mold, check out some custom die-cutting techniques. Seeing how physical stickers are cut can spark fantastic ideas for your digital outlines, helping them stand out from the usual circles and squares. Just make sure the final design stays bold and clear.
The Secret to a Perfect Sticker Export
You’ve put in the creative work, and your sticker design looks fantastic. Now for the most critical part—the export. This is where the magic happens, and it’s what separates a professional-looking sticker from one that looks clunky and out of place.
If you’ve ever seen a custom sticker with an ugly white box around it, it’s because this step was missed. Getting this right is the key to making your sticker blend seamlessly into any photo or video.
It all comes down to the file format. Your only choice here should be PNG (Portable Network Graphics). While JPEGs are fine for standard photos, they don't support transparency. PNGs do. This means any space on your design canvas will stay completely see-through when you save the file.
That transparency is what allows your sticker to sit cleanly on top of your content without bringing an awkward background along with it.
Nailing Your Export Settings
When you're ready to save your design in a tool like Canva or Adobe Express, don’t just hit the first "download" button you see. You need to be deliberate about the settings.
File Type: As mentioned, always choose PNG.
Transparency: Find the little checkbox labeled "Transparent Background" and make sure it’s ticked. This is the make-or-break setting.
Resolution/Size: If the option is available, export at the highest quality or original size (like 1080x1080 pixels). This keeps your sticker sharp and avoids any ugly pixelation.
In Canva, for instance, once you click "Share" and "Download," you'll see a dropdown for the file type. Select "PNG," and right below it, you'll find the "Transparent background" option. It's a single click, but it's the most common mistake people make.
The goal is to export a file where your design elements are just floating in empty space. A good way to check is to open the saved PNG in your phone's photo gallery. If the background appears black or checkered, you’ve done it right—it’s transparent!
Following these exact steps ensures your sticker looks polished and professional every time. It’s a small technical detail that makes a massive difference in how your Instagram Stories come across.
Getting Your Custom Stickers into Instagram Stories
Alright, you’ve designed your sticker, and it's saved as a transparent PNG on your phone. Now for the fun part: actually using it in your Instagram Story.
You might be surprised to learn there isn't some complicated, official upload process. It all boils down to a clever little copy-and-paste trick. Your phone treats the transparent PNG just like any other image on your clipboard, allowing you to pop it right into Instagram.
Adding Stickers on an iPhone
If you're on an iPhone, this process is incredibly slick. Get your Story ready by taking a photo or video, then just hop out of the app for a second.
Go to your Photos app and find your sticker file.
Tap the "Share" icon in the bottom-left corner (it looks like a box with an arrow).
From the pop-up menu, choose "Copy Photo."
Now, head straight back to Instagram. As soon as you open the app, you’ll see your sticker appear in the corner with an "Add Sticker" button. Tap it, and voilà! Your creation is on your Story, ready to be moved and resized.
Adding Stickers on an Android
For Android folks, the method is a little different but just as straightforward. The key is using a keyboard that lets you paste images, like Gboard from Google, which most Android phones already have.
Start by opening your Story and tapping the text tool (the "Aa" icon). When your keyboard appears, look for the sticker icon on the keyboard itself. Tap that, then the photo gallery icon, and simply select your saved PNG. It’ll pop right onto your Story canvas.
Pro Tip: Don't just slap your sticker anywhere. Think strategically. Use it to highlight a call-to-action, cover up an awkward background element, or even point to a poll or question box to boost engagement.
Once it's placed, your custom sticker behaves just like any other native Instagram element. You can pinch to make it bigger or smaller, drag it around, and tap it to flip its orientation.
To get more ideas for making your content stand out, take a look at our complete Instagram Story guide for more advanced tips and tricks.
Creative Ways to Use Your Stickers for Business Growth
Alright, you've figured out how to make custom Instagram stickers. Now for the fun part: putting them to work. When used with a clear purpose, these little graphics stop being just decorations and become powerful tools for your business.
Think about a new product launch. You could design a sticker of the product itself or create one with a simple, intriguing phrase like "Coming Soon!" When you encourage your followers to slap that sticker on their own Stories, you’re instantly expanding your reach and building hype.
Drive Specific Actions and Engagement
You can get a lot more strategic than just general brand awareness. Stickers are fantastic for nudging your audience toward a specific action, acting as a subtle call-to-action that feels completely natural on Instagram.
Here are a few ways I’ve seen this work really well:
"DM for Details" Sticker: This one’s a classic. A custom sticker prompting users to send a direct message is perfect for service-based businesses or for sharing exclusive info without cluttering your Story.
Event Promotion: Got a webinar or a live session coming up? A sticker with the date and time makes it incredibly easy for people to share and remember.
Inspiring User Content: Create a sticker for a specific campaign and ask your community to use it. This not only gets the word out but also helps you leverage user-generated content by grouping all the submissions together.
When your followers use your branded stickers, they're basically giving you a personal endorsement. That kind of social proof is gold for building trust and pulling new people into your orbit.
The trick is to see these stickers as one piece of a much larger puzzle. If you're serious about your content game, integrating them into your broader strategy is essential. For a deeper dive into how visual elements like stickers fit into the bigger picture, check out this complete guide to mastering short-form video. It's a great resource for making sure everything you post is working together toward your goals.
Your Instagram Sticker Questions Answered
Even when a process seems simple, a few common hiccups can throw a wrench in the works. I've seen it happen time and again. Let's tackle some of the most frequent questions I get about making custom Instagram stickers so you can get back to creating.
So, Do I Really Need a GIPHY Account?
Nope, you can skip that step entirely! The copy-and-paste method we're using here is a fantastic workaround that lets you add stickers directly to your Stories.
Setting up a verified GIPHY account is how you make your stickers searchable for everyone on Instagram. But if you just want to use your own branded designs for your content, our direct approach is faster and avoids the whole verification process.
Think of it this way: the direct copy-paste method keeps your custom stickers exclusive to you and your team. You maintain full control, and there's no waiting around for a third-party platform to approve your assets.
Ugh, Why Does My Sticker Have a White Background?
This is, without a doubt, the most common frustration I hear about. The good news is that it’s an easy fix! That pesky white box almost always means the image wasn't saved with a transparent background.
Head back to your design tool, whether it's Canva or something else, and double-check your export settings. You need to save the file as a PNG. Crucially, you must check the box that says “transparent background” during the export process. JPEGs don't support transparency, so they'll always give you that solid block of color you're trying to avoid.
Can I Use Animated GIFs with This Method?
Absolutely, and they look amazing when you do! The process is the same as for a static sticker.
Just make sure you create or download a GIF with a transparent background. Save it to your phone's camera roll, then copy and paste it into your Story just like you would a regular image. The GIF will loop automatically, adding a dynamic, professional touch that helps your content stand out.
Ready to grow your instagram brand as a creator? While other tools help you create content, Gainsty uses advanced AI to build a real, engaged following for you on autopilot. Stop guessing and start growing by visiting Gainsty to see how it can increase your instagram following.
