Why Your Instagram Videos Look Blurry and How to Fix It
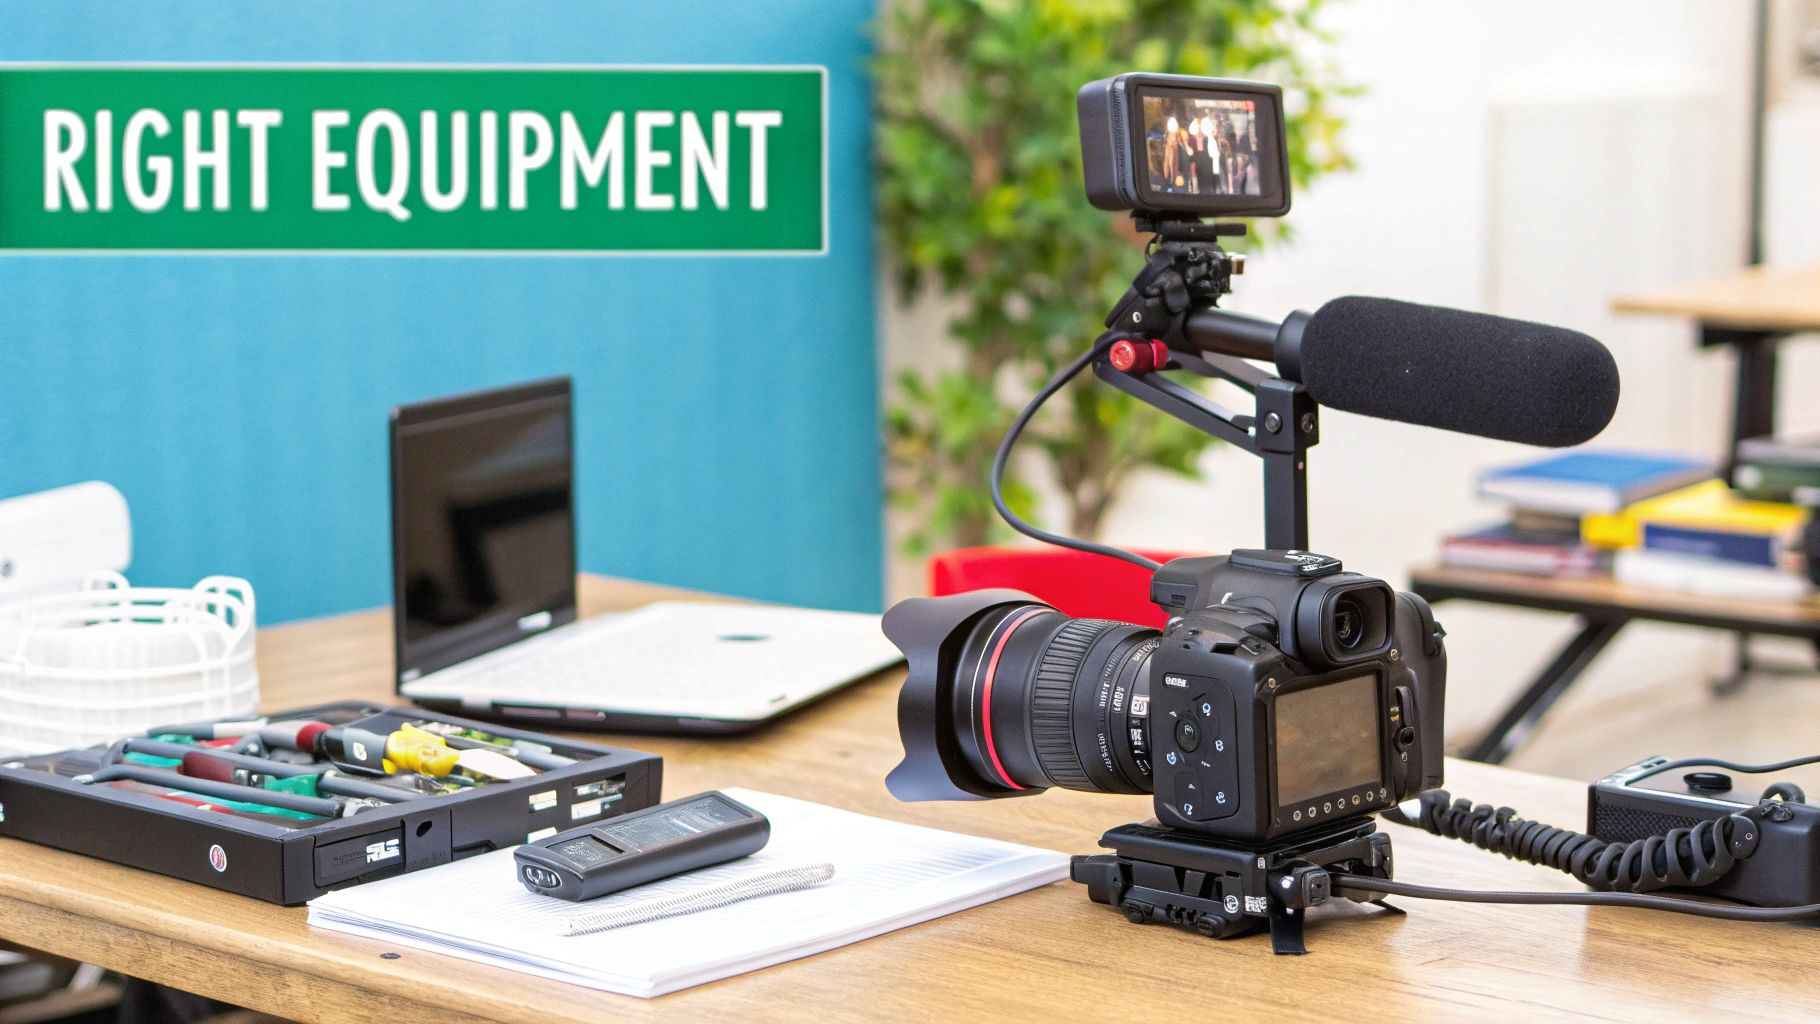
It’s a story I’ve heard a thousand times. You shoot a gorgeous, crystal-clear video, pour hours into editing it perfectly, and the second it hits your feed, Instagram butchers it. The real culprit isn’t your camera or your editing software—it's Instagram's own system.
To manage the staggering amount of video uploaded every day, Instagram relies on a heavy-duty compression algorithm. Its only job is to shrink your video file, making it smaller to save server space and load faster for viewers on weaker connections. When your uploaded file is too big or in the wrong format, the algorithm goes into overdrive, stripping away the very detail and clarity you worked so hard to capture.
For many creators, this is the lightbulb moment. The problem was never the camera; it was a misunderstanding of what Instagram's platform actually needs.
Laying the Groundwork for a Quality Upload
You can’t just drop a massive 4K video file on Instagram and cross your fingers. That’s a recipe for disaster. The trick is to prepare the video in a format the platform can easily handle without needing to over-compress it.
This means you need to get three things right before you even think about hitting "upload":
Resolution: Shooting in 4K is fantastic for editing—it gives you tons of room to crop and reframe. But for the final upload, you want a video width of 1080 pixels. Anything more is just asking for compression.
Format and Codec: Stick with what Instagram knows and loves: the MP4 file type using an H.264 codec. Deviating from this standard can trigger an extra, much harsher round of compression.
Bitrate: This is all about the amount of data packed into your video. If the bitrate is too high, the file size balloons, and Instagram will squash it. If it's too low, the video looks bad right from the start.
> The entire strategy is to match Instagram's final specs as closely as possible in your own export settings. When you do the "compressing" yourself, you control the outcome. You're leaving less work for Instagram's algorithm, which is the key to preserving your video's original quality.
This is the foundation for learning how to post high-quality videos on Instagram. By giving the algorithm a file it already likes, you stay in the driver's seat and ensure your work looks just as sharp on your followers' feeds as it did in your editor.
Quick Fix Checklist for High Quality Instagram Videos
If your videos are still coming out blurry, run through this checklist. These are the most common culprits and the quickest fixes to ensure Instagram doesn't ruin your hard work.
During shooting, use the highest quality camera setting available, as this provides more data to work with in post-production, even if you export at a lower resolution.
When editing, export your video with a width of 1080 pixels (for example, 1080×1920), since this is Instagram’s preferred resolution; uploading a larger file can trigger heavy compression.
While exporting, set the format to MP4 and the codec to H.264, which is the gold standard for Instagram—other formats may cause extra, unwanted compression.
For uploading, always use a stable Wi-Fi connection rather than mobile data, as a weak connection can prompt the app to apply additional compression to speed up the process.
Finally, in the Instagram app, turn on the “High quality uploads” option in your settings; this instructs the app to prioritize quality, though it cannot compensate for a poorly exported file on its own.
Think of this table as your pre-flight checklist. Ticking these boxes before you post will solve the vast majority of quality issues and put you miles ahead of most creators on the platform.
Planning Your Shoot for Maximum Visual Quality
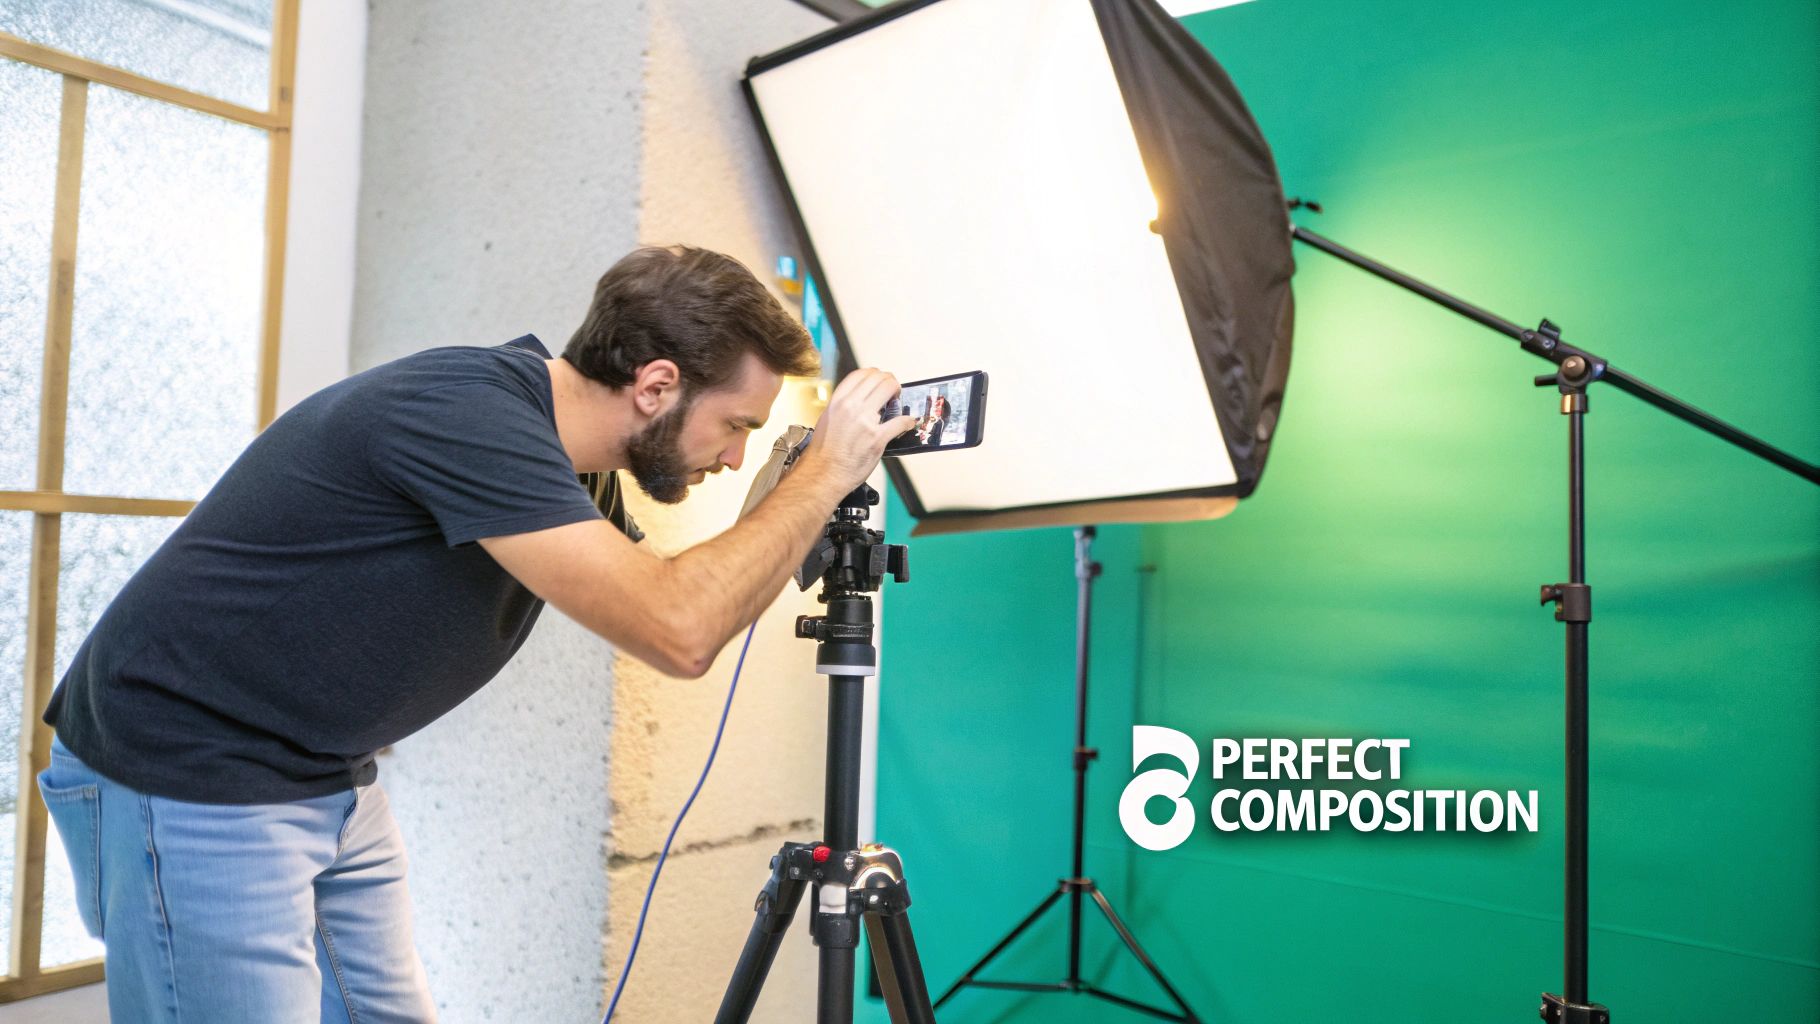
Here’s a truth every seasoned creator knows: you can't fix terrible footage in post-production. While tweaking export settings is important, it's the last step. The secret to posting truly high-quality videos on Instagram is to get pristine raw footage from the very beginning.
This means you need a plan before you ever press record. Think about your environment—your lighting, how you'll keep the camera steady, and what the audio will sound like. Nail these three elements, and you're 90% of the way to a video that looks polished and professional.
Master Your Lighting Setup
Bad lighting is the number one reason a video looks amateur, no matter how great your camera is. It’s not just about being able to see what’s happening; lighting creates mood, depth, and clarity. The goal is always soft, even light, which gets rid of any harsh, distracting shadows on your subject.
And you don't need a massive budget for this. Some of the best tools are free.
Natural Light: This is your best friend. Find a large window and face it. This gives you a gorgeous, diffused light that’s almost impossible to replicate artificially. Just make sure the window isn't behind you, or you’ll end up as a dark silhouette.
Ring Lights: If you need more control, a simple ring light is a fantastic investment. It gives you consistent, direct light that erases facial shadows, which is perfect for any talking-head videos or tutorials.
Bounce Lighting: Is your direct light a bit too intense? Grab a piece of white poster board or a cheap reflector to bounce that light back onto your subject. It’s a simple trick that instantly softens shadows and makes everything look more balanced.
Stabilize Your Shot for a Polished Look
Nothing screams "amateur" faster than a shaky camera. It’s jarring for the viewer and instantly makes your content feel low-budget. A steady shot isn't just a nice-to-have; it's essential.
Luckily, this is an easy fix. Get a tripod. Whether it’s for your phone or a bigger camera, a tripod eliminates the hand-shake that ruins so many videos. It's a simple piece of gear that makes a massive difference in how people perceive your quality.
> Your background is part of the story. A cluttered, messy background just pulls focus from what you're trying to say. Always opt for a clean, simple setting or one that adds a little context without being distracting.
Don't Forget About Audio Quality
Instagram might be a visual platform, but terrible audio will make people scroll right past your video. If your sound is muffled, distant, or full of echo, it feels unprofessional and is just plain annoying to listen to. Crisp visuals need clear audio to match.
Even an inexpensive external microphone will be a huge upgrade over your phone’s built-in mic. A small lavalier mic that clips onto your shirt or a shotgun mic you can mount on your camera will isolate your voice from all the background noise. Honestly, investing in a decent mic is one of the best bangs for your buck to immediately elevate your video quality.
Essential Camera Settings for Crystal-Clear Footage
You can have the best export settings in the world, but they won’t save you if your original footage is subpar. The old saying "garbage in, garbage out" is especially true for video. Nailing your camera settings before you hit record is a non-negotiable step for anyone serious about posting high-quality videos on Instagram.
Whether you're working with an iPhone, an Android, or a fancy DSLR, the core principles don't change. Your goal is to capture as much detail and information as possible right from the start. This gives you way more flexibility when you get to the editing room.
The good news is that most modern phones are more than capable of producing incredible footage. You just have to know which settings to tweak. Let's get out of the "auto" mode and take real control.
Resolution: The 4K vs. 1080p Debate
This is a big one. Should you shoot in 4K or 1080p? Even though Instagram will ultimately display your video closer to 1080p, shooting in 4K is a game-changer for post-production.
Think of it this way: shooting in 4K gives you four times the amount of pixel information as a 1080p video. This massive digital canvas lets you crop, zoom, and completely reframe your shots in editing without losing that crisp, professional look.
For example, you could film a wide shot of a product demo and then, during editing, "punch in" for a tight close-up on a specific feature. Both shots will look perfectly sharp because you started with so much extra detail. It's like having a second camera angle you didn't even have to set up.
> My Pro Tip: Always, always shoot in the highest resolution your camera can handle. Even if your final video is a 1080p Reel, the creative freedom you gain in editing is priceless.
Frame Rate: Finding the Sweet Spot
Frame rate, measured in frames per second (fps), is all about the smoothness of your video's motion. While traditional films often use a cinematic 24fps, for the fast-paced world of Instagram, 30fps is the ideal standard.
Shooting at 30fps provides a clean, natural motion that just feels right on a phone screen. It also aligns perfectly with what the platform is optimized for. If you're planning to create some epic slow-motion shots, cranking the frame rate up to 60fps or even 120fps is the way to go, but for your standard talking head or product shot, 30fps is your reliable workhorse.
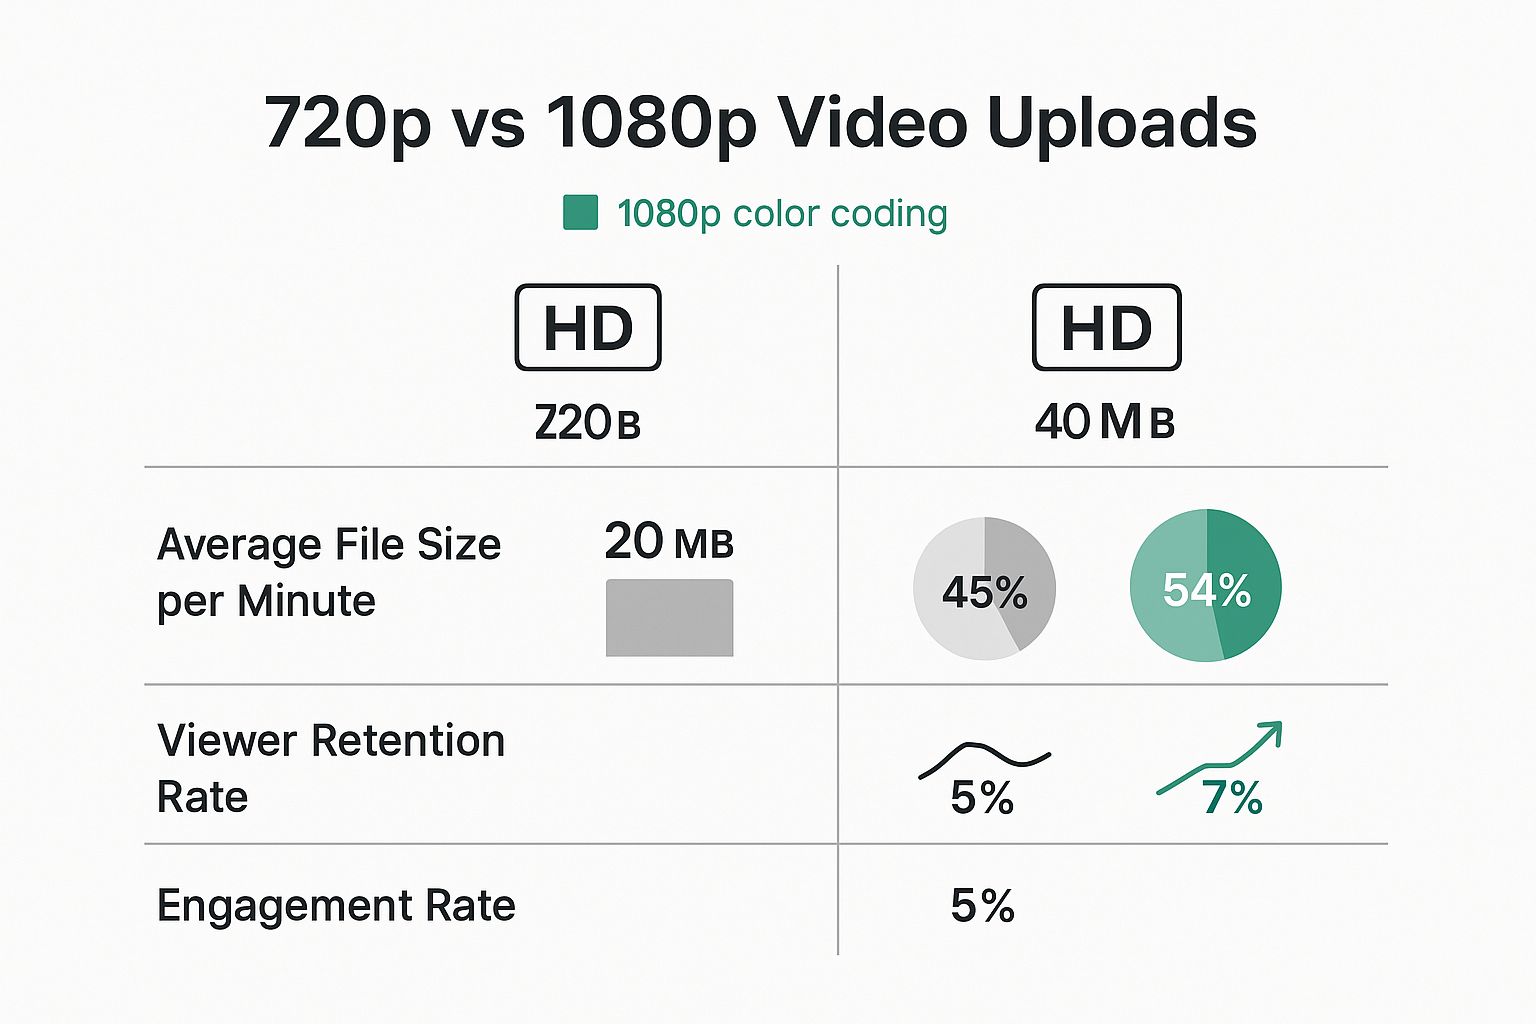
As you can see, higher resolution directly correlates with better engagement. It proves that starting with the best possible footage isn't just a technical detail—it's a strategic move.
A Quick Look at Codecs and Bitrate
Let's get slightly more technical for a moment. If you're on a newer iPhone, you've probably seen the "High Efficiency" video option. This uses a codec called HEVC (or H.265), which is great for creating smaller file sizes. The catch? It can sometimes be a headache with certain editing software. To play it safe and avoid compatibility issues, I usually recommend sticking with the "Most Compatible" setting, which uses the universally friendly H.264 codec.
Bitrate is another key term—it’s essentially the amount of data being used to record your video each second. A higher bitrate equals more detail and a larger file. While you can't typically adjust this setting on a phone while recording, it becomes crucial when you export your final video (more on that later). For now, know that more data generally means better quality.
If you’re using more advanced gear like a drone, getting these settings right is even more critical. There’s a lot to learn, but understanding your drone camera settings is a great place to start for those more advanced insights.
Optimal Camera Settings for Instagram Video
To make things simple, I've put together a quick reference table. This breaks down the best settings for different types of Instagram content, from fast-paced Reels to more polished Feed videos.
For optimal results when creating content for Instagram, it is important to adjust your camera settings based on whether you are producing Reels/Stories or Feed Videos.
For both Reels/Stories and Feed Videos, it is recommended to shoot in 4K resolution (3840×2160). This provides maximum flexibility for cropping, zooming, and reframing in post-production without any loss of quality.
The ideal frame rate is 30fps for both, as this is the standard for smooth, natural motion on mobile. For Reels/Stories, 60fps is also recommended if you plan to incorporate slow-motion effects in your edit.
Using the H.264 codec is recommended for both formats, as it ensures the broadest compatibility with editing software and helps prevent potential upload issues with Instagram.
Regarding orientation, you should shoot vertically in a 9:16 aspect ratio for Reels/Stories. For Feed Videos, it is best to shoot vertically in a 4:5 aspect ratio or use a square (1:1) format. Shooting in the final intended aspect ratio saves time by avoiding awkward cropping later and maximizes the use of screen space on the platform.
Following these guidelines ensures that your raw footage is optimized for Instagram right from the camera, setting you up for a much smoother editing process and a better-looking final product.
Exporting Your Video the Right Way for Instagram
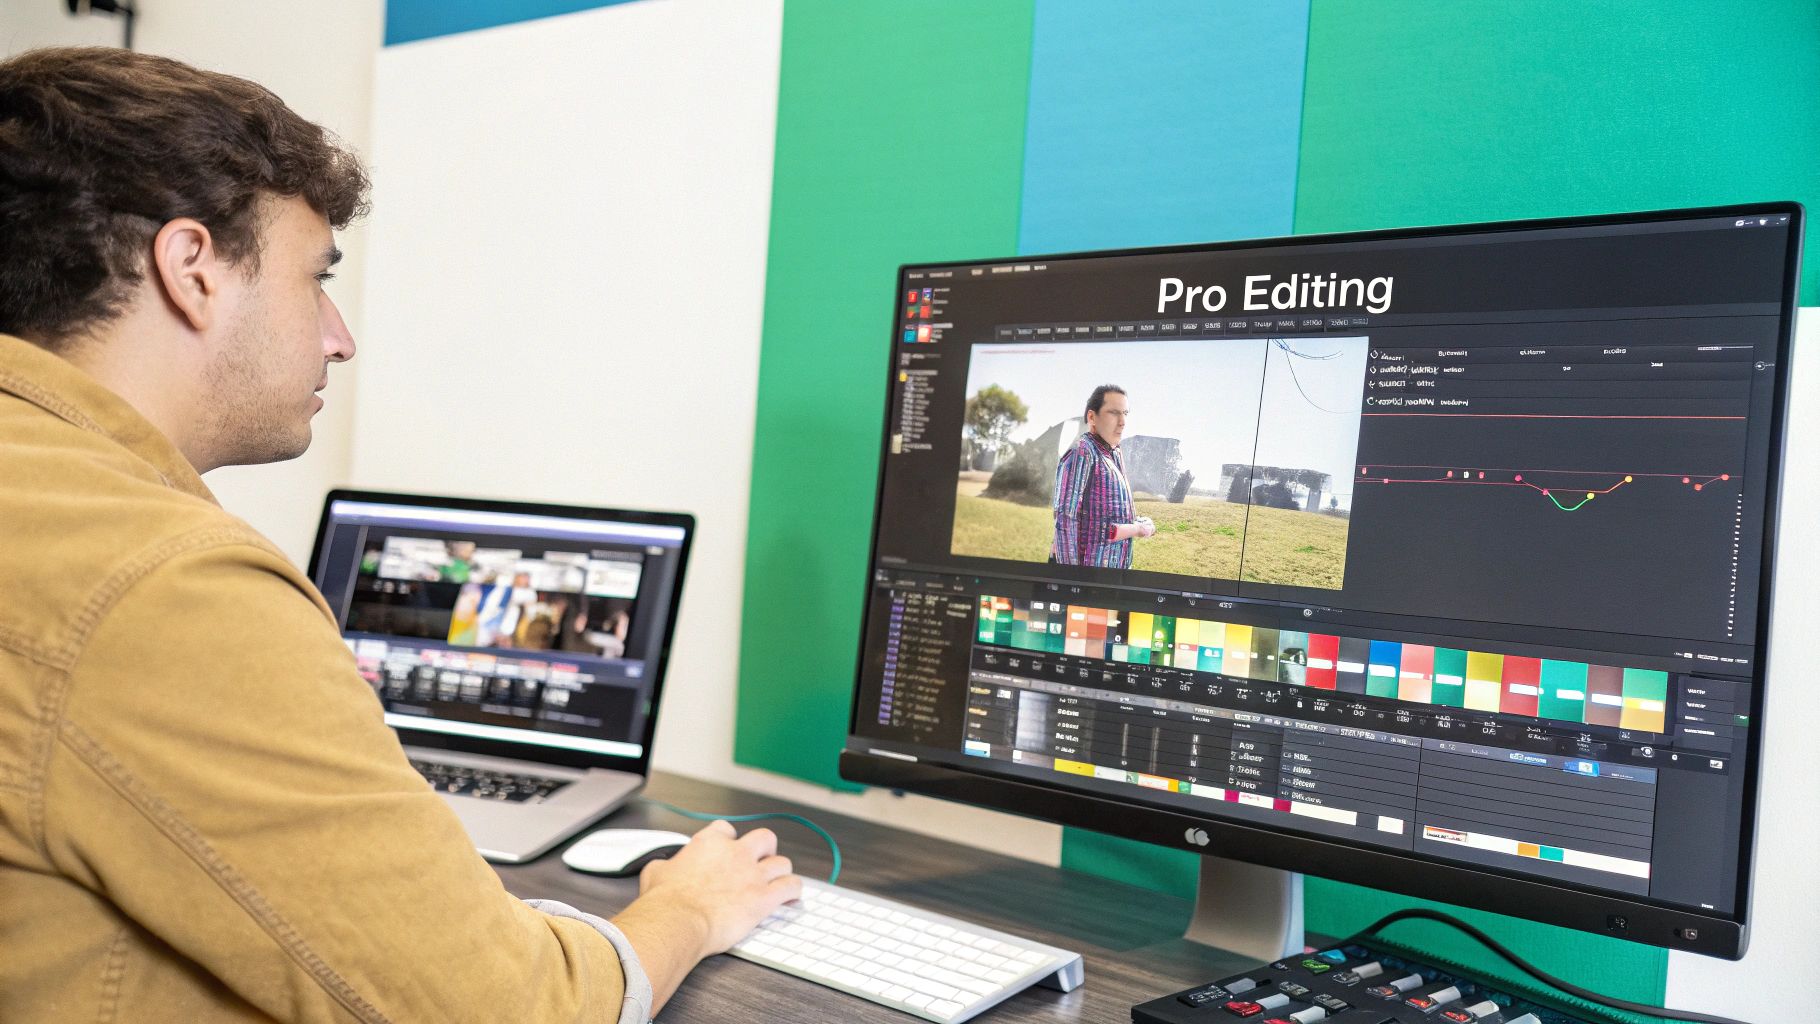
This is where all your hard work pays off—or where it can all fall apart. You can have perfect lighting and stunning raw footage, but if you mess up the export settings, none of it matters. This step is your final chance to control your video's quality before handing it over to Instagram's aggressive compression algorithm.
Think of it like this: you're preparing a file that works with Instagram, not against it. By matching your export settings to what the platform prefers, you're essentially doing the heavy lifting yourself. This leaves less work for Instagram's algorithm, which means it's far less likely to crush your beautiful video into a blurry, pixelated mess.
Let's walk through the exact settings that will help you upload crisp, high-quality videos every single time, whether you're using a mobile app like CapCut or a desktop powerhouse like Premiere Pro.
Nail the Three Pillars of Exporting
No matter what software you're using, your export settings always come down to three key ingredients. Getting these right is non-negotiable if you want to preserve all that detail and clarity.
1. Resolution (The 1080p Rule): Even if you shoot in 4K for more flexibility in the edit, you should always export with a width of 1080 pixels. For a vertical Reel, that’s 1080x1920. Exporting at 4K is one of the most common mistakes I see. It creates a massive file that forces Instagram to compress it heavily, completely destroying your quality.
2. Codec (Speak Instagram's Language): Your video file needs to be in a format Instagram understands perfectly. That language is the H.264 codec. It's the universal standard for web video, ensuring maximum compatibility and smooth playback. Always choose this over others like HEVC (H.265) for your final Instagram export.
3. Bitrate (The Data Diet): Bitrate is all about how much data is packed into each second of your video. If it's too high, the file is too big and gets squashed by Instagram. If it's too low, it looks pixelated right from the start. A target bitrate between 10-15 Mbps (megabits per second) is the sweet spot for 1080p footage.
> A huge mistake is leaving the bitrate on "auto" or "high," which can crank it up to 50 or even 100 Mbps. That’s total overkill and practically guarantees Instagram will decimate your video. By setting it manually to 10-15 Mbps, you create a much smaller, high-quality file that flies right under the compression radar.
Practical Export Settings in Popular Apps
Okay, let's put this into practice. The interface might look a little different from app to app, but the core settings are always there.
In CapCut or VN Editor: When you hit that export button, you'll see options for "Resolution" and "Frame Rate." Set your Resolution to 1080p and Frame Rate to 30fps. Then, look for a "Bitrate" setting—often a slider—and aim for the "Recommended" or a medium-high setting, which almost always lands in our target range.
In Premiere Pro or Rush: Head to the export panel and choose the "H.264" format. Under the video tab, make sure you uncheck "Match Source" so you can manually set your resolution (e.g., 1080 width, 1920 height). Scroll down to Bitrate Settings, select "VBR, 1 Pass," and set the Target Bitrate to 12 Mbps.
Getting these settings just right is the secret to uploading consistently great-looking video. For an even deeper dive, our guide on https://www.gainsty.com/blog/how-to-upload-high-quality-videos-to-instagram covers every single part of the process.
Ultimately, you just want a file that's perfectly prepped for its final destination. For more on specific dimensions and getting everything just right, this excellent Instagram Reel Size Guide is another fantastic resource. Once you master this stage, you’ll never have to wonder why your video looks blurry again.
How to Upload to Instagram Without Losing Quality
You've done all the hard work. Your footage is crisp, the edit is seamless, and your export file looks incredible. But now comes the moment of truth: the upload. This is where so much of that hard-earned quality can vanish in an instant.
Don't let a simple oversight at the very end compromise all your effort. The good news is, keeping your video looking sharp on Instagram just comes down to a few key moves. Think of this as your pre-upload checklist. Nailing these steps ensures the video on your feed looks just as good as it did on your editing timeline.
Activate the Most Important Setting
Your single most powerful tool is a little-known toggle buried deep within the Instagram app. I'm always surprised by how many seasoned creators miss this one, but enabling it makes a night-and-day difference.
The setting is called "Upload at highest quality," and turning it on is a must.
Here’s where to find it: 1. Head to your Instagram profile and tap the hamburger menu (the three lines) in the top-right corner. 2. Go to Settings and privacy > Media quality. 3. Flip the switch for "Upload at highest quality."
That's it. This one action tells Instagram's algorithm to back off and not apply its most aggressive compression to your video. It won't magically fix a low-res export, but it’s the essential final step to protect a well-made file.
Transfer Your Files the Right Way
If you’re like me and edit on a desktop, how you get that finished video onto your phone is a huge deal. Whatever you do, don't just send it to yourself through WhatsApp or Facebook Messenger. Those apps are notorious for secretly crushing your file size—and your quality—to save bandwidth.
For a transfer that doesn't sacrifice a single pixel, stick to these methods:
AirDrop: If you're in the Apple ecosystem, this is your best friend. It’s fast, direct, and preserves the original file perfectly.
Google Drive or Dropbox: A rock-solid alternative for everyone else. Just upload the video from your computer, then open the app on your phone and save the file directly to your camera roll.
> A quick pro tip: Always upload over a strong Wi-Fi connection. A spotty cellular signal can trigger Instagram to add extra compression to make sure the upload doesn't fail. It's a small detail, but it can make a surprisingly big impact on the final result.
With Reels driving so much of the conversation on Instagram, these final quality checks have never been more critical. In fact, Reels now make up over 38.5% of what the average user sees in their feed, and their engagement blows static photos out of the water.
You can get a closer look at the data in these Instagram Reels statistics on vidico.com. Protecting your quality is fundamental to making content that stands out, and if you want to take it a step further, check out our guide on other ways to boost Instagram engagement.
Common Questions About Instagram Video Quality
Even after you’ve got the basics of shooting, editing, and exporting down, there are always a few nagging questions that seem to pop up. Think of this as your go-to troubleshooting guide for those last-minute "what ifs" that can make or break your video quality.
These are the real-world answers to the hurdles I see creators face all the time. Let's clear up the confusion so you can post every single time with total confidence.
Should I Still Use the In-App Camera?
Honestly? I'd skip it for anything that needs to look polished. While the in-app camera for Reels and Stories is great for spontaneous, on-the-fly content, it's not the tool for achieving top-tier quality.
Using your phone’s native camera app gives you a world of control over crucial settings like resolution and frame rate. It lets you capture that beautiful 4K at 30fps footage we talked about, which is the perfect raw material. From there, you can take that pristine clip into your editing app and dial it in. The in-app camera, on the other hand, starts compressing your video the second you hit record, so you're starting with a lower-quality file from the get-go.
Does Video Length Affect Quality?
It does, but maybe not in the way you think. A longer video means a larger file, and Instagram’s compression algorithm loves to shrink large files. A quick 15-second Reel is a tiny file compared to a 10-minute deep dive, so it's naturally going to be compressed less aggressively.
This doesn't mean you should shy away from creating longer, more valuable content. It just means your export settings become even more important. Sticking to that 10-15 Mbps bitrate is non-negotiable for longer videos, as it helps keep the file size in a sweet spot without killing the visual quality.
> The goal is always the same, regardless of length: give Instagram a well-optimized file that it doesn't have to work hard to process. A smaller file is a happier file.
Why Does My Video Look Good on My Feed but Blurry in My Story?
Ah, the classic mystery. This usually happens because different parts of Instagram handle video a little differently. Your Feed is generally the most forgiving. Stories and Reels, however, can get hit with an extra round of compression, especially if they are re-shared or remixed by other users.
The best defense here is a good offense. Always export your Story videos at the exact 1080x1920 resolution and double-check that your "Upload at highest quality" setting is turned on in your Instagram account settings. This removes as many variables as possible and gives your content its best shot at looking crisp across the board.
Video isn't just a feature anymore; it's the main event. With users spending a massive 35% to 50% of their time on Instagram watching Reels, making sure your videos look incredible is non-negotiable. To learn more about where things are headed, check out these social media video trends on sproutsocial.com.
Getting these technical details right is a huge piece of the puzzle. To see how it fits into a bigger picture, explore our guide to powerful Instagram growth strategies.
Ready to turn those high-quality videos into real growth? Gainsty uses its powerful AI and team of experts to help you attract thousands of organic followers who genuinely love your content. Start growing your audience the right way and go viral on Instagram at https://www.gainsty.com.
.png&w=1920&q=75&dpl=dpl_Z6gu6XbtMvtEWfqp1ffTThfB5gRx)


.png&w=750&q=75&dpl=dpl_Z6gu6XbtMvtEWfqp1ffTThfB5gRx)
