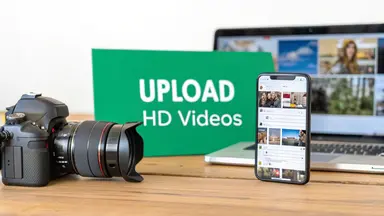
The Easiest Win for Sharper Videos
Before you even think about complex export settings in your editing software, there’s one switch inside the Instagram app itself that you need to flip. Seriously, do this now. It’s a game-changer.
This setting tells Instagram, "Hey, I care about quality, so please don't crush my video into oblivion." Here’s how you find it:
Head to your Instagram Profile and tap the menu icon (the three lines) in the top-right.
Tap on Settings and privacy.
Scroll way down until you see Media quality (it’s under the "Your app and media" section).
Make sure Upload at highest quality is toggled on.
> This is your first line of defense. Just turning this on signals to Instagram that you're prioritizing clarity. While it won't fix every compression issue on its own, it stops the app from applying the most aggressive, quality-destroying settings by default.
With that simple but crucial step out of the way, you've set a solid foundation. Now we can get into the nitty-gritty of filming and exporting your video to give Instagram a file it truly loves.
Filming Secrets for Instagram-Ready Footage
Here's a truth many creators learn the hard way: amazing Instagram videos aren't born in an editing app. They start with the raw footage. Think of it like cooking—the better your ingredients, the better the final dish. Your raw file is the main ingredient, and it has to be strong enough to survive Instagram's notorious compression.
A rookie mistake I see all the time is filming in 1080p just because that's the final output size. Don't do it. Instead, you should always shoot in the highest resolution and frame rate your camera can handle, ideally 4K at 60 frames per second (fps). This gives Instagram’s algorithm way more data to process. When it inevitably shrinks your video down, the result is dramatically sharper and cleaner than if you'd given it a lower-quality file to begin with.
Stabilize Your Shots for a Pro-Level Feel
Nothing looks more amateur than shaky, jittery footage. It's distracting and can make people scroll right past your content. While a professional gimbal is a great tool, you can get incredibly smooth shots without spending a dime.
Here are a few tricks I use all the time:
The Human Tripod: Hold your phone with both hands and tuck your elbows firmly against your sides. This creates a surprisingly stable base and cuts down on those tiny, annoying shakes.
Master the "Ninja Walk": If you need to move while filming, bend your knees slightly and walk deliberately, rolling from heel to toe. This simple shift in movement absorbs the bouncing from your steps, keeping the camera steady.
Use Your Surroundings: Look for natural support. Lean against a wall, prop your phone on a table, or even use a stack of books. It’s a free and easy way to lock down your shot.
> Key Takeaway: Stability is everything. Smooth video doesn't just look professional; it's physically easier for people to watch, which means they'll stick around longer.
Get Your Lighting and Audio Right
Bad lighting is the number one cause of grainy, noisy video—a problem that Instagram's compression only makes worse. Always film in a well-lit space. Your best friend is often a large window providing soft, natural light. If you're indoors with artificial lights, make sure the main light source is in front of you, not behind you.
Bad audio is just as unforgivable. A video can look amazing, but if the sound is muffled or full of background noise, viewers will tune out. You can get surprisingly clean audio from your phone's built-in mic if you're in a quiet room and close to your subject.
Mastering these visual and audio basics is non-negotiable. For a deeper dive, checking out some professional recording tips can upgrade your game. Ultimately, a high-quality video is the foundation of any good https://www.gainsty.com/blog/instagram-story-strategy that’s designed to stop the scroll.
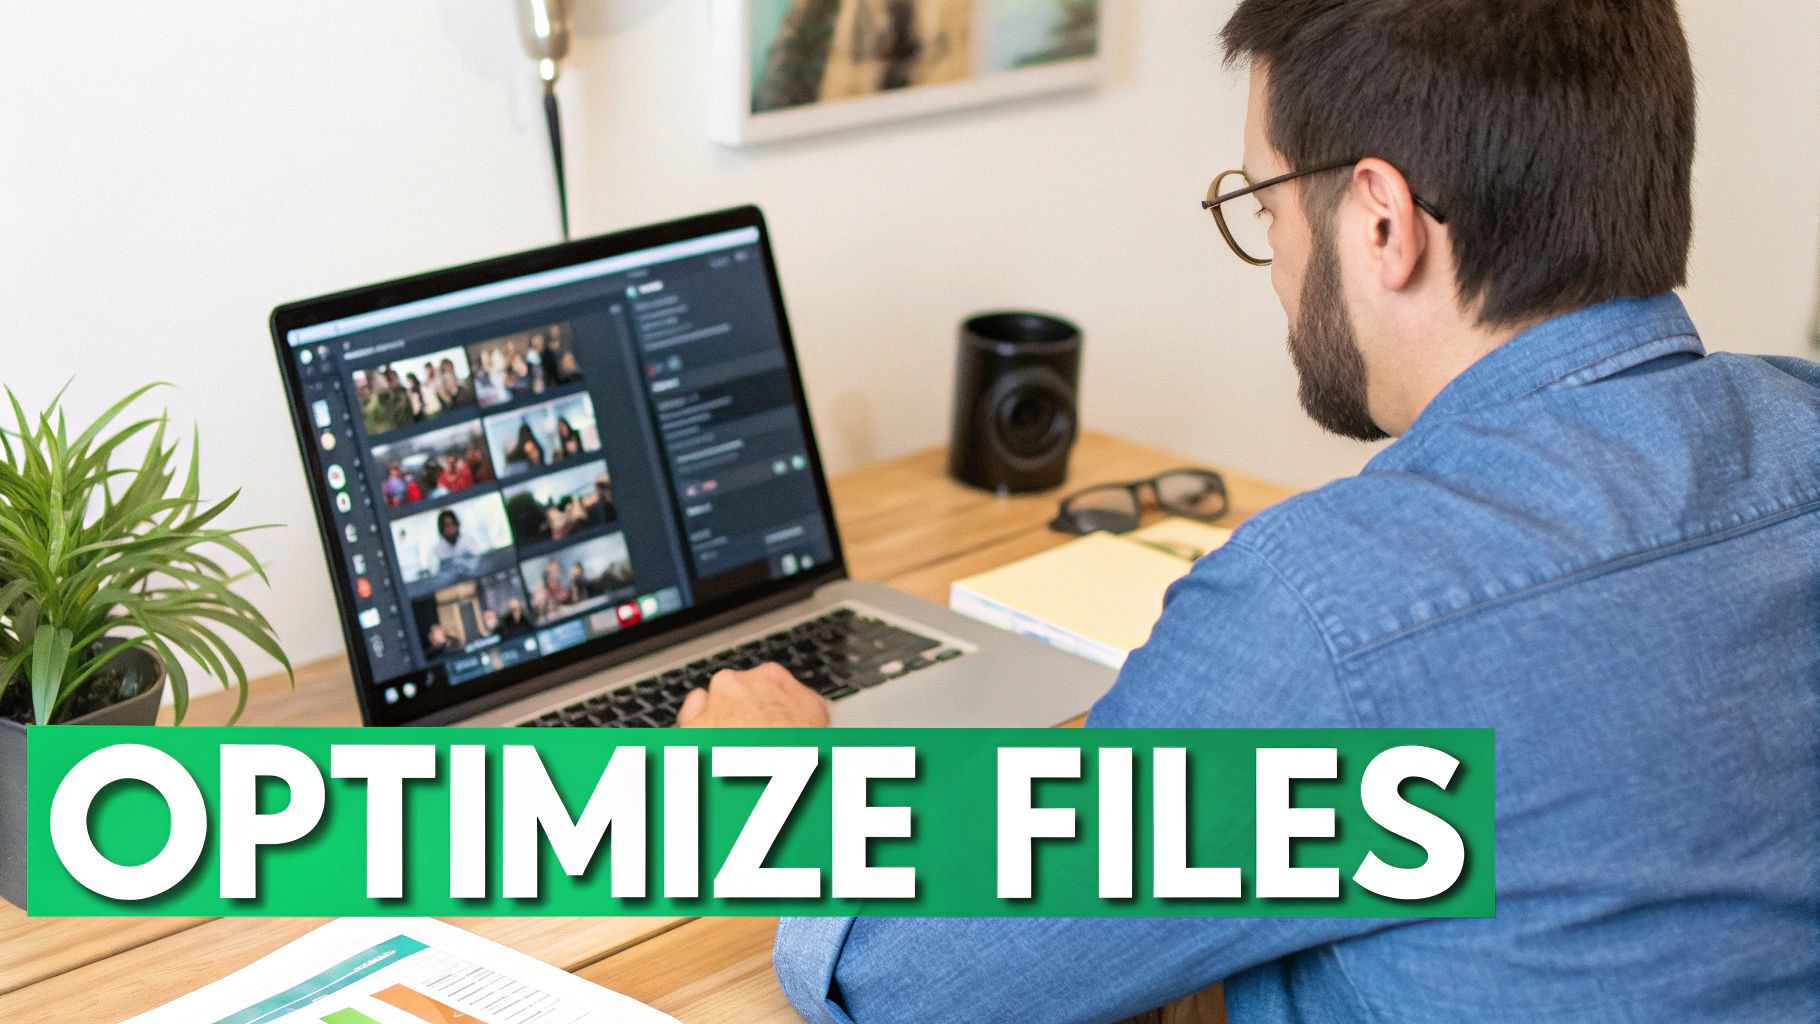
Mastering Export Settings for Flawless Uploads
This is where the magic happens. You can film a masterpiece and edit it to perfection, but if your export settings are wrong, all that work goes down the drain. The final video will look blurry and pixelated because Instagram had to aggressively re-compress your file.
Think of it this way: you want to hand Instagram a file that’s already perfectly packaged for its platform. When you get the export settings just right, you leave very little room for their compression algorithm to mess things up.
If you're just getting started, finding the best video editing software for beginners can make a huge difference in how easily you can dial in these settings. But honestly, no matter what software you use—Premiere Pro, DaVinci Resolve, CapCut—the core principles are the same.
The image below gives you a peek into a typical export panel, highlighting the key settings we're about to dive into.
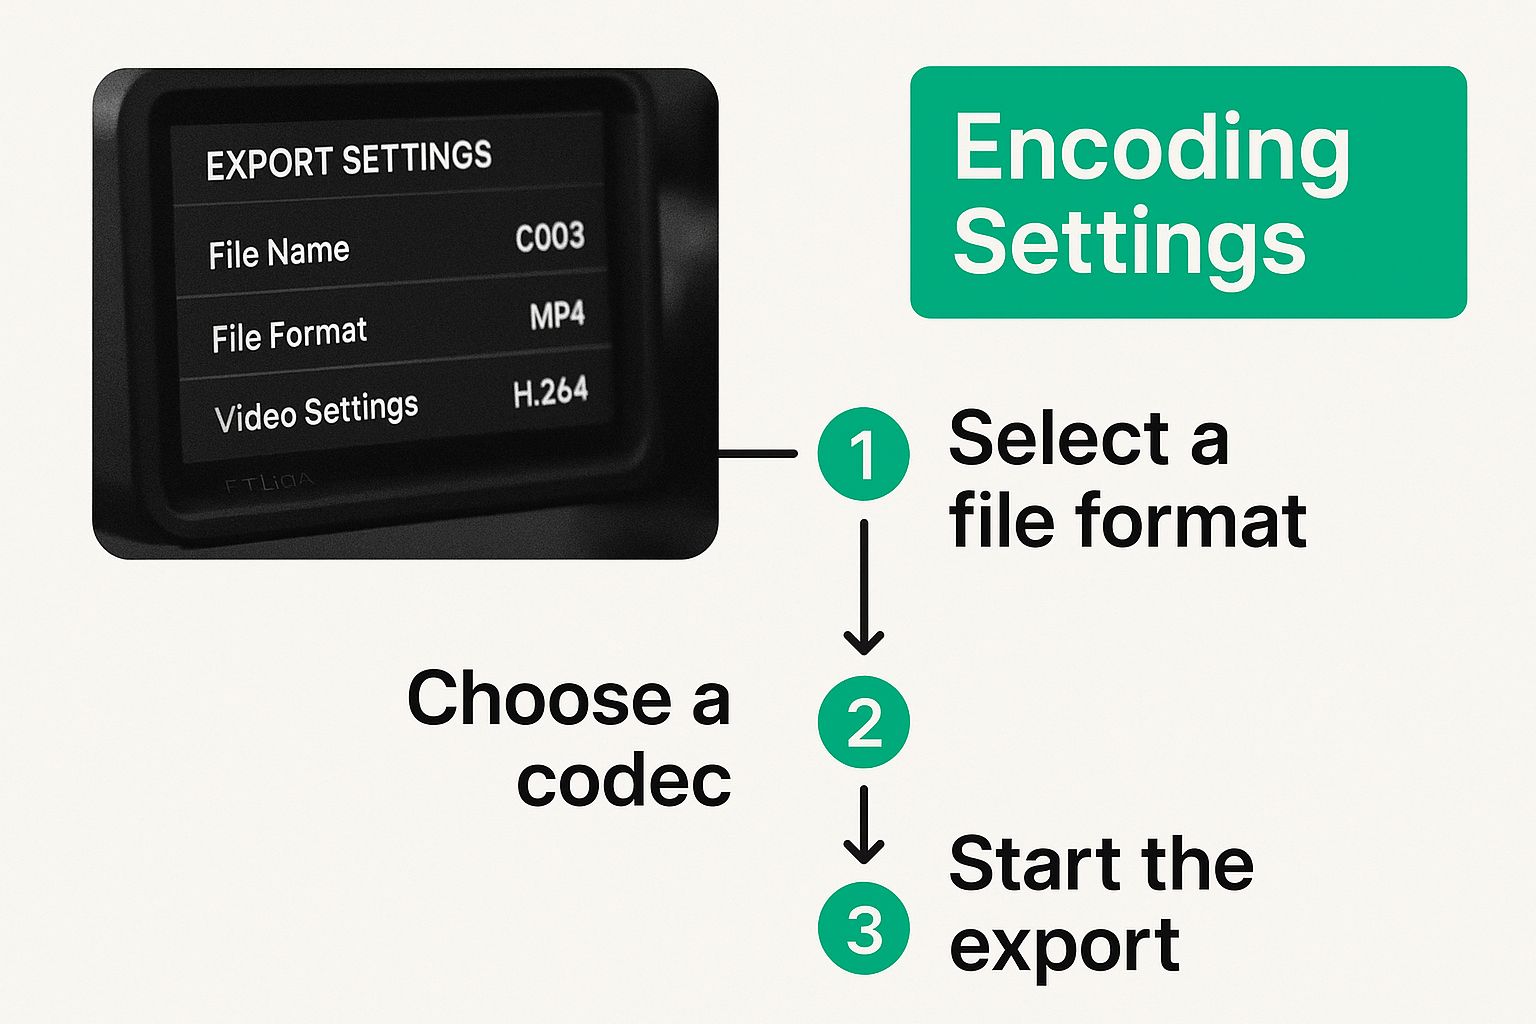
This is where you'll be controlling the most crucial elements that determine whether your video looks crisp or crunchy.
Codec and Bitrate: The Two Most Important Settings
Let's cut through the technical jargon. When you're in that export menu, the two things that matter most for quality are the codec and the bitrate. These work together to determine how clear your video looks and how big the final file is.
Here’s what you need to lock in:
Video Codec: Always, always choose H.264 (AVC). This is the gold standard for web video, and it's exactly what Instagram is built to handle. Sending it anything else is like trying to fit a square peg in a round hole—it might work, but it won’t be pretty.
Audio Codec: For audio, stick with AAC (Advanced Audio Coding). This keeps your sound clear and clean on any device without bloating your file size.
> Bitrate is your secret weapon. It dictates how much data is packed into every second of your video. A higher bitrate means more data, which translates to better quality but also a bigger file. The trick is finding that sweet spot—high enough for quality, but not so high that Instagram’s compression kicks in hard.
A Quick Guide to Optimal Export Settings
To help you skip the guesswork, here’s a quick reference table I use for my projects. These settings are a fantastic starting point for getting that perfect balance between quality and file size, ensuring your videos look their best on the platform.
Optimal Instagram Video Export Settings
Reels & Feed Videos (Vertical)
Resolution: 1080×1920
Frame Rate: 30 FPS
Codec: H.264 (AVC)
Bitrate: 8–10 Mbps
Audio: AAC
Stories (Vertical)
Resolution: 1080×1920
Frame Rate: 30 FPS
Codec: H.264 (AVC)
Bitrate: 6–8 Mbps
Audio: AAC
Feed Videos (Square/Horizontal)
Resolution: 1080×1080 or 1920×1080
Frame Rate: 30 FPS
Codec: H.264 (AVC)
Bitrate: 10–12 Mbps
Audio: AAC
Stick to these numbers, and you’ll be giving Instagram a file it loves. Getting this right is more important than ever, especially when you consider that video now accounts for 60% of the time users spend on Instagram, and Reels alone make up 38.5% of what people see in their feed. Your audience expects high-quality video, and these settings will help you deliver it every single time.
How to Get Your Video from Computer to Phone Without Ruining It
So, you’ve meticulously exported your video. Now you face a surprisingly tricky challenge: getting that beautiful file from your computer to your phone. Don't underestimate this step. If you get it wrong, all that effort you poured into your export settings goes right out the window.
First things first: never send your final video to yourself using messaging apps. I’m talking about iMessage, WhatsApp, Facebook Messenger, you name it. These apps are designed for quick, lightweight communication, so they'll crush your video's quality with aggressive compression to keep file sizes small. It’s a guaranteed way to undo all your hard work.
Your Best Options for a Pristine Transfer
To protect every single pixel, you need a lossless transfer method. Here are the go-to methods that pros use.
If you’re working within the Apple ecosystem, your absolute best friend is AirDrop. It's built for exactly this purpose—transferring the original, uncompressed file directly between your devices. Just right-click the video on your Mac, select AirDrop, and send it straight to your iPhone. It’s fast, simple, and maintains 100% of the original quality.
For everyone else—or if you just prefer a cross-platform solution—cloud storage is the way to go. I rely on Google Drive and Dropbox for this all the time.
The process couldn't be simpler:
Upload your final MP4 file from your computer to a folder in your cloud service of choice.
Next, open the Google Drive or Dropbox app on your phone.
Find the video and download it directly to your phone's camera roll or local storage.
> This two-step dance ensures the file that lands on your phone is the same high-quality version you exported. It's a non-negotiable step if you're serious about uploading high-quality videos to Instagram.
One Final Pro Tip
When you’re in your cloud storage app, always make sure to use the "Download" or "Save to Device" function. It might be tempting to use a "Share to Instagram" shortcut directly from the app, but resist the urge. Sometimes, that direct-sharing process can trigger its weird compression.
Saving the file locally to your phone first gives you complete control, ensuring the file remains untouched until the moment you hit "upload" in the Instagram app.
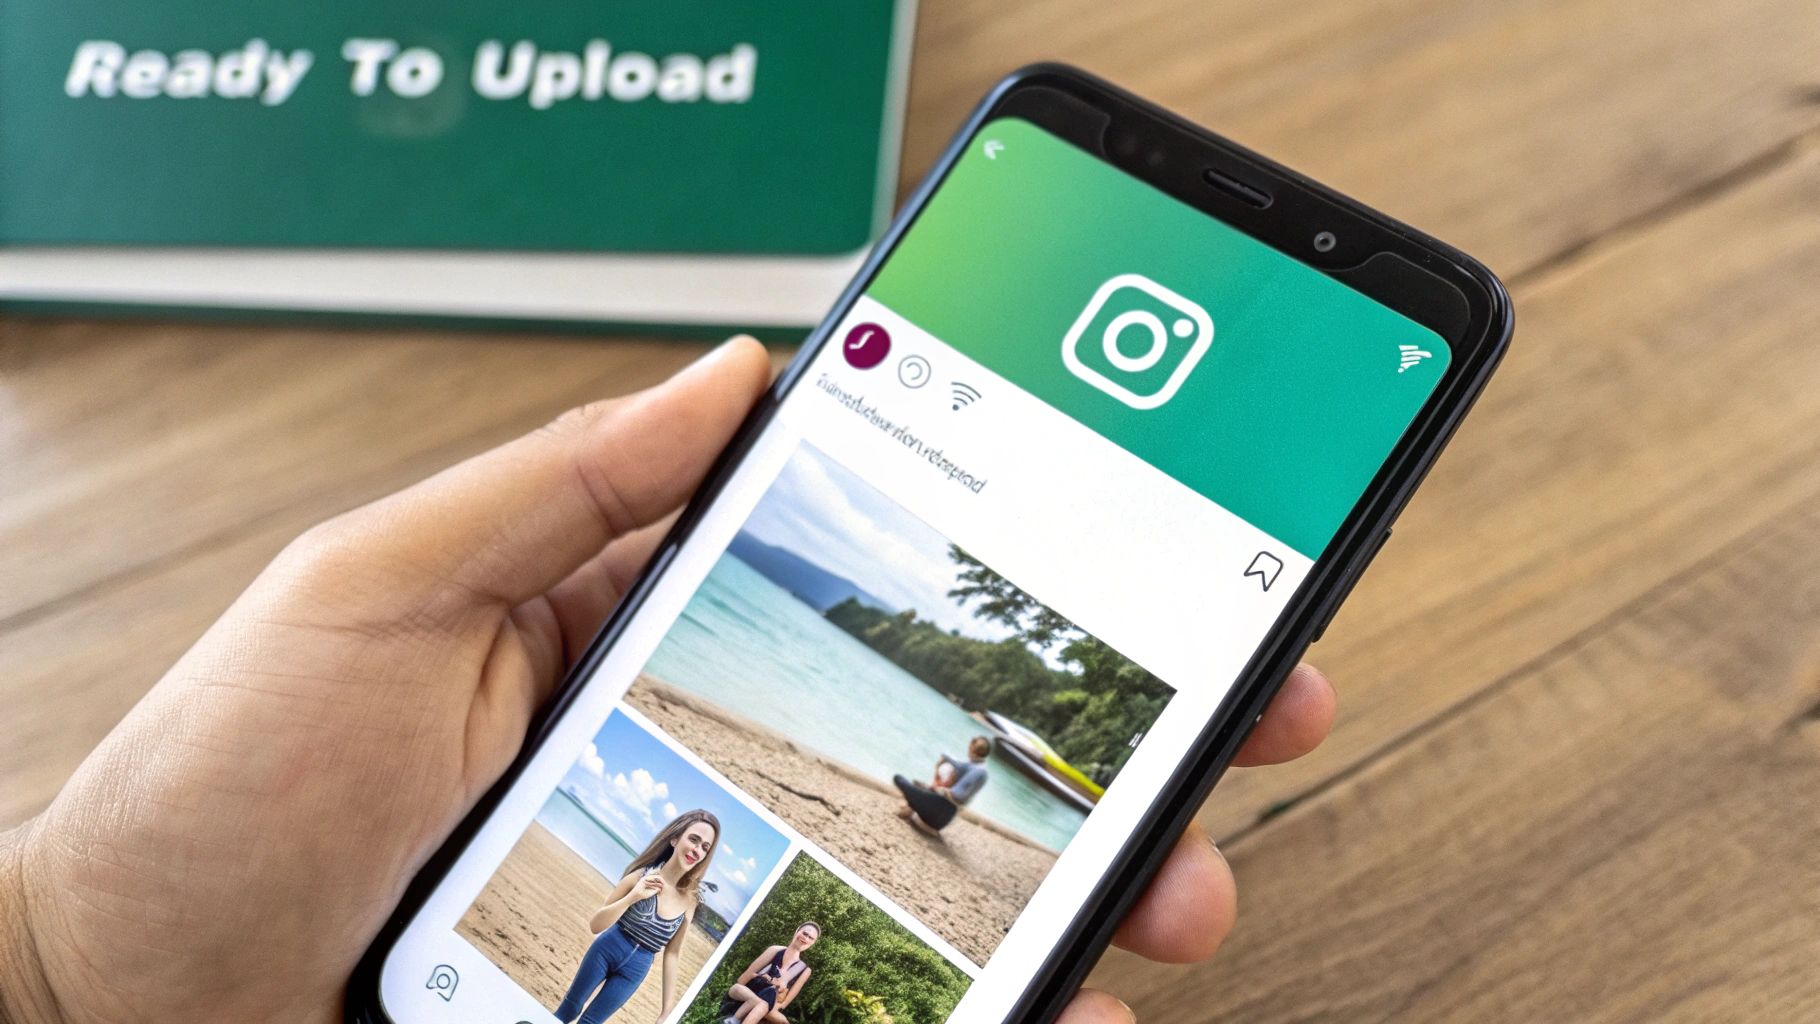
The Final Upload and Pro-Level Tips
You've made it to the last hurdle. All the effort you've put into filming, editing, and exporting comes down to this moment. Before you even think about hitting "Share," there's one critical setting to check.
Dive into your Instagram account settings and find the "Upload at highest quality" option. Make sure it's switched on. This single toggle is your first and best defense against the platform's aggressive compression algorithms.
With that sorted, turn your attention to your internet connection. I can't stress this enough: always upload over a stable Wi-Fi network. If you rely on spotty cellular data, the upload might stall or fail, forcing it to restart. Each time that happens, Instagram's servers can re-compress your video, slowly chipping away at the quality you worked so hard to achieve.
Advanced Tips for a Flawless Post
If you really want to get every last drop of quality out of your uploads, you need to think like a seasoned creator. These are the little things that make a surprisingly big difference.
First off, resist the temptation to add creative touches inside the Instagram app. That means no in-app filters, music tracks, or text overlays. Every time you add one of these elements, Instagram has to re-process and re-compress your file one more time. Do all your creative work—color grading, titles, sound—in your primary editing software before you export.
> The battle for quality is more intense than ever. Instagram Reels now make up nearly 40% of all feed content, pulling in a 1.23% engagement rate. However, their organic reach fell by roughly 50% in 2023. This drop means that pristine video quality isn't just a nice-to-have; it's essential for grabbing attention in a crowded space.
Finally, never forget that the content itself is king. I've found that videos with a clear human element—someone talking to the camera, unboxing a product, or just sharing an experience—consistently perform better. The algorithm seems to love it, and when you combine that human touch with impeccable technical quality, you've got a winning formula.
Building on these strategies is fundamental to getting more eyes on your content. To dive deeper, you can learn more about how to increase Instagram engagement in our dedicated guide. For a complete look at maximizing your video's impact, check out these 10 Best Practices for Instagram Videos.
Still Have Questions About Instagram Video Quality?
Even when you follow all the right steps, getting your videos to look perfect on Instagram can sometimes feel like a moving target. Let's break down a few of the most common questions and sticking points I see creators run into all the time.
A big one I hear a lot is about 4K video. You went to all the trouble of shooting in beautiful 4K, so it seems logical to upload it that way, right? Well, not exactly. Instagram simply doesn't support 4K uploads. No matter what, it will automatically crush your video down to a maximum width of 1080 pixels.
When you export your file at 1080p from the start, you're taking control of that downscaling process. Trust me, the result is much cleaner than letting Instagram’s aggressive compression algorithm do the dirty work for you.
Why Does My Video Still Look Blurry?
So, you’ve flipped the "Upload at highest quality" switch in your settings, but your videos still look soft. What’s going on? While that setting is helpful, it's not a magic fix. It can't salvage a video that's already lost quality before it even gets to Instagram.
If your uploads are still blurry, the issue almost always comes down to one of two things:
Your Export Settings are Off: The most common mistake is a bitrate that's too low for the resolution. Go back and double-check that you exported using the H.264 codec and a VBR bitrate that matches the recommendations.
You're Transferring It Wrong: This is a huge one. Sending your final video to your phone through a messaging app like WhatsApp, Facebook Messenger, or even iMessage will absolutely destroy the quality. They all compress video files. Always use a lossless method like AirDrop, Google Drive, or Dropbox.
> Think of the "High quality uploads" toggle as your final line of defense, not your first move. Real quality is locked in during filming, exporting, and transferring—long before you even tap the upload button.
A Quick Word on HDR Video
Here’s another common pitfall: shooting in advanced formats like HDR (High Dynamic Range) or Dolby Vision. These formats can look absolutely stunning on a compatible high-end TV or phone, but Instagram’s ability to process them is spotty at best.
When you upload an HDR video, there's a good chance it will look washed out or have bizarre, oversaturated colors for many of your viewers. Their devices simply can't display it properly.
For the most consistent and reliable results, it's always safer to export in a standard (SDR) color space like Rec. 709. This ensures what you see is what everyone else sees. This is especially critical for brands that rely on visual consistency; you can dive deeper into how to use Instagram Stories for business in our other guides.
Ready to stop worrying about algorithms and start seeing real growth? Gainsty uses advanced AI and expert strategies to grow your Instagram with real, engaged followers. Start growing with Gainsty today and watch your engagement soar.
.png&w=1920&q=75&dpl=dpl_4NqwJQkCDvBL9qR9gQoqvMbkri9x)


.png&w=750&q=75&dpl=dpl_4NqwJQkCDvBL9qR9gQoqvMbkri9x)