Why an Instagram Location Tag Is a Game Changer
Before we jump into the "how-to," let's talk about why this is such a big deal. Adding a location tag isn’t just some minor detail on your post—it's a powerful tool that turns your Instagram profile into a magnet for local customers.
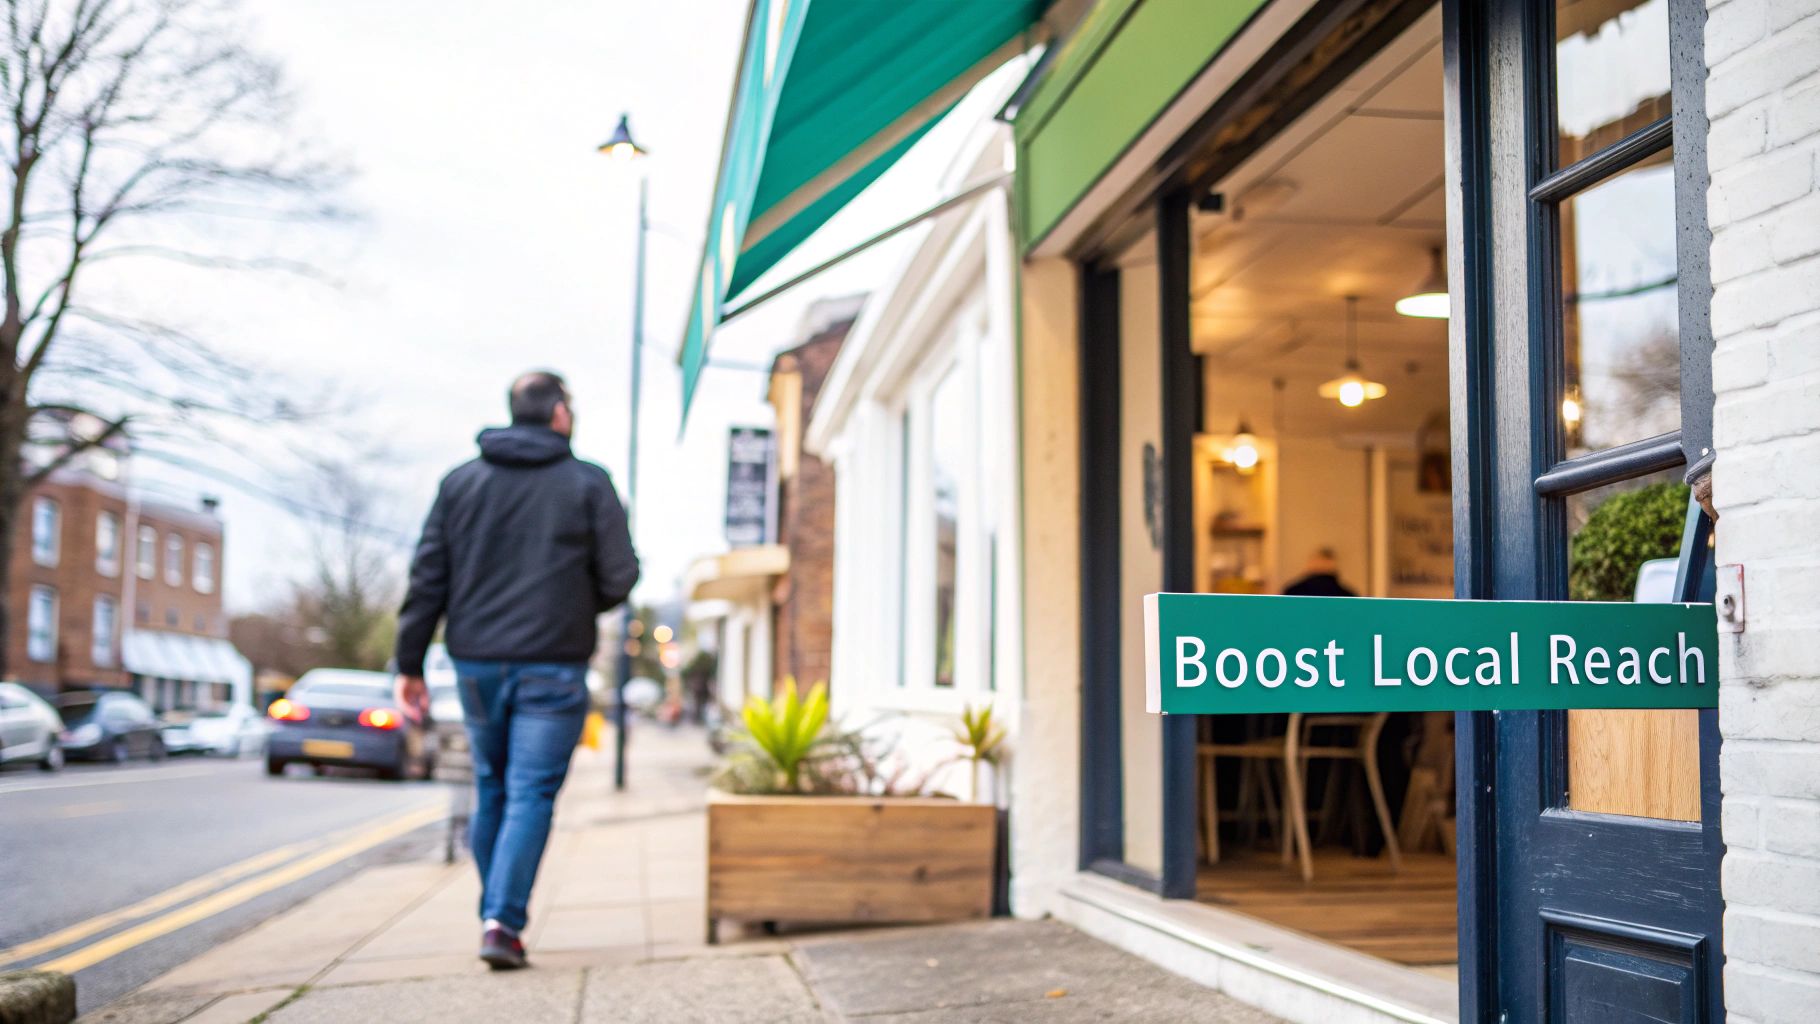
If you run a brick-and-mortar business like a boutique or a café, this feature is the critical bridge between someone discovering you online and walking through your front door. It’s that simple.
This small action directly impacts who sees your content. When you tag your business location, your posts pop up for people searching for things to do in your specific area. Think about how people use the platform: a massive 80% of users are on Instagram actively looking for products or services. You need to be where they're looking.
Boost Your Local Visibility and Engagement
The numbers don't lie. Posts that include a location tag see a mind-boggling 79% increase in engagement compared to posts without one. With over 2 billion people using Instagram every month, that kind of boost can seriously expand your reach to the right audience—the people who can actually become customers.
Here's where your business will start showing up:
Location-Based Searches: When someone searches for your city or neighborhood, your tagged posts have a chance to appear right in their results.
The Explore Tab: Instagram's algorithm loves local content. A location tag is a major signal that tells it to show your posts to users nearby.
User-Generated Content: This is my favorite part. When customers tag your business, they're creating a public gallery of social proof for you, essentially advertising your spot to all of their followers.
Tapping into this feature is fundamental. It’s not just about letting people know where you are; it's about actively participating in the local discovery ecosystem that drives both online interaction and offline sales.
Strengthen Your Digital Footprint
At the end of the day, figuring out how to add your business location to Instagram is a key piece of a much larger marketing puzzle. To really see the value, it's worth exploring broader location-based marketing strategies and how they can transform visitor engagement.
This simple tag solidifies your brand's presence in the community, making it a non-negotiable part of your Instagram marketing for your small business.
Getting Your Ducks in a Row for a Custom Location
Before you can start tagging your business location on Instagram, there are a couple of things you need to sort out first. It's a common misconception that you can just create a location tag directly in the Instagram app—you can't. The entire system is built on Facebook's infrastructure.
This means the absolute first requirement is having an Instagram Business account. If you're still using a personal profile, you'll hit a wall immediately because it doesn't have the necessary professional tools or backend connections. Switching over is simple and gives you access to a ton of other useful features. If you need a hand, our guide on how to create a business Instagram account will walk you through it.
It All Starts with Your Facebook Business Page
Once your Instagram is set up as a business profile, the next crucial step is linking it to a Facebook Business Page. Since Instagram pulls all its location data directly from Facebook's massive database, your custom spot has to exist on Facebook before it can ever appear on Instagram.
I like to think of it like this: Your Facebook Business Page is the official entry in the phone book, and Instagram is just looking up your number. If you're not in the book, Instagram has no way to find you.
This is where most people get stuck. They'll search and search for their business on Instagram, getting frustrated when it doesn't show up, completely unaware that the creation process has to happen on Facebook first.
To make sure everything goes smoothly, double-check that your Facebook Page is set up correctly. Specifically, you'll need:
A full, physical address: This has to be the real deal. It's the exact information Instagram will use to drop your pin on the map.
The right page category: Choosing a category like "Restaurant," "Local Business," or "Shopping & Retail" helps Facebook and Instagram understand what you do and show your location to the right people.
Nailing these two details from the get-go will save you a world of headaches down the line.
How to Create a Custom Location Tag on Facebook
Alright, so your Instagram Business account is set up and linked to your Facebook Page. Perfect. Now comes the part that really matters: creating the actual location tag.
Since Instagram gets all its location data directly from Facebook, this is where we have to do the legwork. You'll need the Facebook mobile app for this part. The whole process relies on a clever use of Facebook's "Check In" feature. You're essentially creating a new, custom place on Facebook's map that Instagram can then pull from.
Think of it this way: you're telling Facebook, "Hey, my business exists right here, and I need people to be able to tag it in their posts."
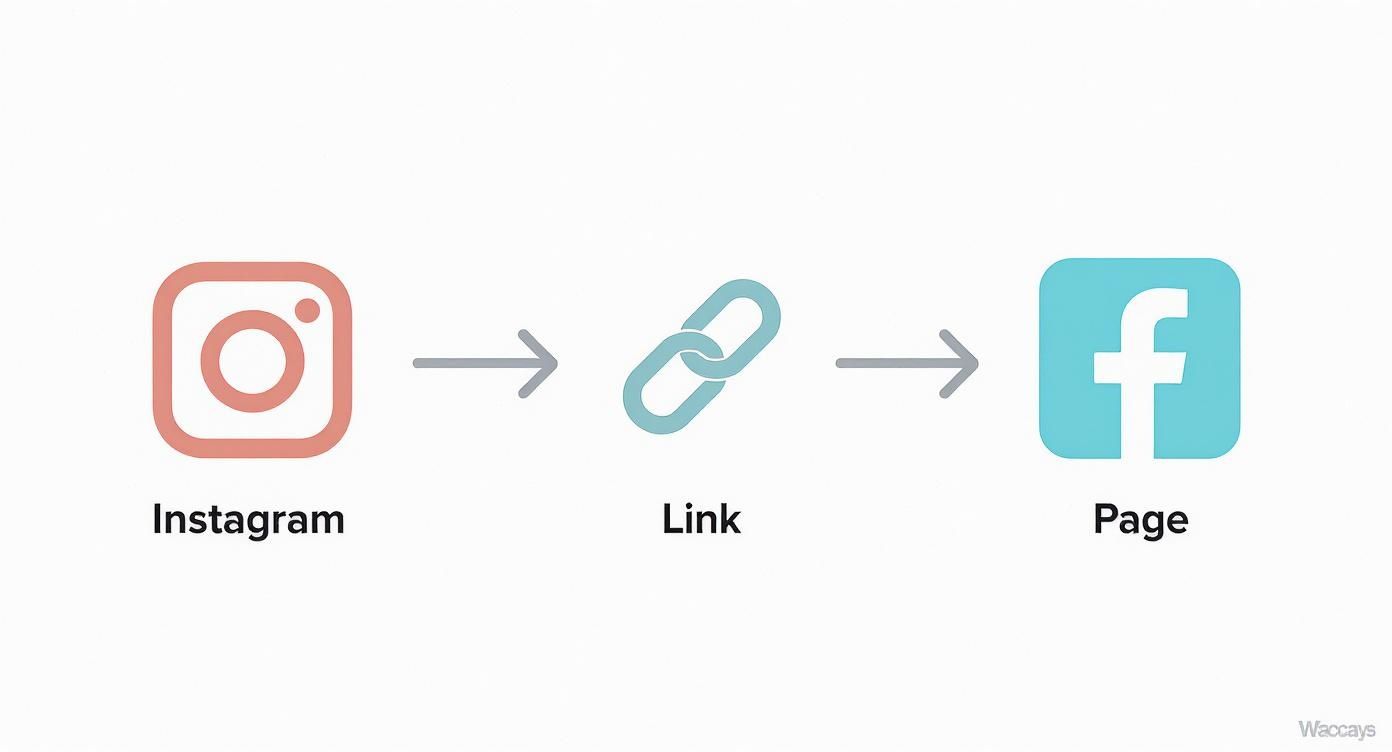
This simple diagram really drives home the point. The road to a custom Instagram location runs straight through Facebook, which is why linking those two accounts is non-negotiable.
Getting Started With the Facebook Check-In Feature
First things first, open up the Facebook app on your phone and act like you're creating a new post. Just below the "What's on your mind?" box, you’ll see several options. Tap on "Check In"—it's the one with the little red map pin icon. This will pull up a list of places near your current location.
In the search bar at the top, type the exact name you want for your business location. Let's use "Sarah's Seaside Cafe" as our example. You might see other locations pop up, maybe even one with a similar name, but our goal is to create our own official, unique tag.
If you don't see your business in the search results, scroll all the way to the bottom of the list. You should find an option to "Add [Your Business Name]..." with a plus symbol next to it. That's what we're looking for. Tap it.
Filling Out Your Business Details
This next step is crucial. You're about to enter the official details for your location tag, and this information will be used across both Facebook and Instagram. Accuracy is key.
When creating a new custom location on Facebook, you'll need to provide some specific information. Getting these details right from the start saves a lot of headaches later.
Key Information for Creating Your Facebook Location
Location Name:
This is the official name of your business as you want it to appear in tags or search results. For example: Sarah’s Seaside Cafe.Category:
Specify the type of business you operate, being as detailed as possible to help customers find you easily. For example: Coffee Shop.Physical Address:
Include the full street address, along with the city, state, and zip code, so customers can locate you accurately. For example: 123 Ocean View Dr, Sunnyville, CA 90210.Map Pin:
Set the precise geographic point on the map that represents your business entrance. For example, drag the pin directly to your front door to ensure accurate directions.
Double-checking these details ensures your customers can find you easily and that your brand is represented correctly online.
Here’s a pro tip: Don't just rely on the address to place your map pin. Take an extra 30 seconds to physically drag the pin on the map to your exact storefront or main entrance. This little tweak makes a huge difference, ensuring people get directions to your front door, not the alley behind your building.
Once you’ve filled everything out and are happy with the pin's location, tap "Save Custom Place."
And now, we wait. It can take anywhere from a few minutes to a couple of days for the new location to sync from Facebook's database over to Instagram. Don't panic if it isn't available immediately. Just give it a little time.
Putting Your New Instagram Location Tag to Work
Getting your custom location set up on Facebook is a huge first step, but that’s really just laying the groundwork. Now for the fun part: putting that new tag to work across Instagram to pull in local customers and see some real-world results.
Think of your location tag as a digital signpost pointing right to your front door.
A great place to start is your Instagram bio. Adding your address here makes it front and center for anyone landing on your profile. Just tap "Edit Profile," head into "Contact Options," and pop in your "Business Address." This simple tweak makes your location clickable, so visitors can get directions with a single tap.
Weave Your Location into Your Content
Now, let's get that location into your everyday content. The idea is to turn every post into a potential discovery point for people in your area. You’ve got a few great ways to add your new business location right within the Instagram app:
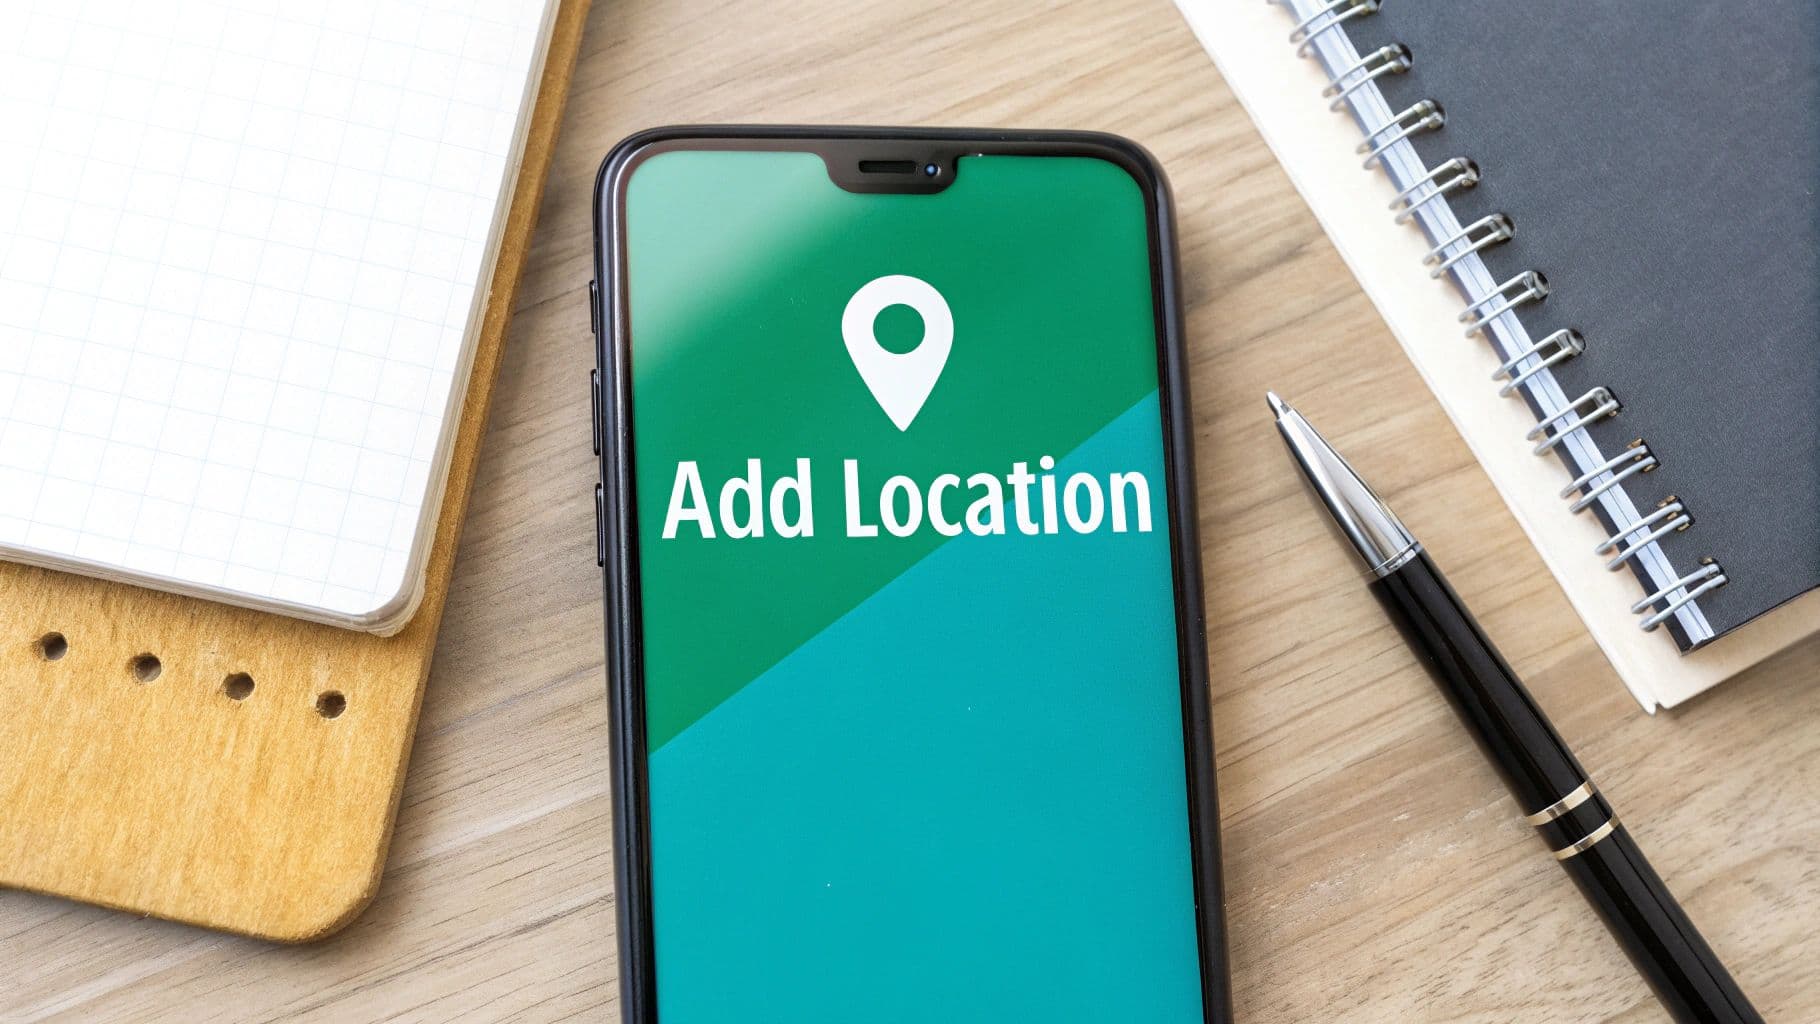
Feed Posts: As you're creating a new post, just tap "Add Location" and search for the custom name you set up. It should pop right up.
Instagram Stories: This is my personal favorite. Grab the "Location" sticker—it’s big, bold, and interactive, practically begging viewers to tap and see what else has been posted from your spot.
Reels: Exactly like a feed post, you can add your location before sharing your video. This is a huge signal to the algorithm to show your Reel to users nearby.
The real magic happens when your customers start using your tag. Encourage them to tag your location in their own photos and Stories. Suddenly, they've become your most authentic brand advocates.
This creates a constant flow of user-generated content that works like powerful social proof. After all, people trust what other people share way more than a polished ad. If you need some inspiration, check out these content ideas to promote your business on Instagram.
Don't underestimate the impact of this. Instagram users spend an average of 33.1 minutes per day on the app, and a whopping 80% are actively searching for products or services. By making your location a core part of your strategy, you’re tapping directly into that discovery mindset and closing the gap between online browsing and an in-person visit. You can find more deep-dive Instagram user statistics on The Social Shepherd.
Troubleshooting Common Instagram Location Issues
So you’ve followed all the steps, but your shiny new location tag is nowhere in sight. It’s a frustrating moment, but don't panic. More often than not, the fix is simpler than you think.
The number one reason a location doesn't appear immediately is the sync time between Facebook and Instagram. They need to talk to each other, and that conversation isn’t always instant. I've seen it take anywhere from a few hours to a couple of days.
Before you go down a rabbit hole of complicated fixes, just give it some time. Seriously. Wait at least 24-48 hours before assuming something is broken.
When Your Location Still Won't Show Up
Okay, you’ve been patient, and your location is still playing hide-and-seek. Let's run through a quick diagnostic checklist. These are the go-to moves I use that solve the problem nine times out of ten.
Start with the classic "turn it off and on again" approach:
Force quit both apps. Completely close Instagram and Facebook on your device. Don’t just send them to the background—shut them down entirely and then relaunch them.
Clear the cache. Your apps store old data to run faster, but sometimes that data gets corrupted. Go into your phone’s settings, find the Instagram app, and clear its cache.
Check your permissions. Make sure your phone's location services are turned on for both Facebook and Instagram. Without that permission, the apps can’t accurately find or suggest nearby places.
One sneaky issue I see all the time is the Facebook Page category. If your page is set to something too broad or not location-specific, Facebook's algorithm might not treat it as a physical place worth syncing.
Dive back into your Facebook Page settings and confirm your category is something like "Local Business," "Restaurant," or "Shopping & Retail." This small tweak often gives the system the nudge it needs.
And if you notice, the pin is just in the wrong spot on the map? That’s an easy fix. Just head back to your Facebook Page’s "About" section and edit the business address to correct its placement.
Got Questions About Instagram Locations? We’ve Got Answers.
Even with a step-by-step guide, you're bound to have a few questions pop up. It happens to everyone. Let's tackle some of the most common ones I hear from business owners trying to get their location set up on Instagram.
"I Created My Location on Facebook... Why Can't I Find It on Instagram Yet?"
This is easily the number one source of panic, but don't worry! After you create a new location on Facebook, it doesn't instantly sync with Instagram.
It can sometimes take up to 48 hours for the new spot to show up in Instagram's database. My advice? Give it a day or two before you start thinking something is broken. If it's still not there after a couple of days, try completely closing and restarting both the Facebook and Instagram apps on your phone. That little trick often forces a refresh.
"Can I Create a Custom Location With My Personal Instagram Account?"
The short answer is no. While any personal account can tag an existing location, the ability to create a brand-new, custom one is reserved for Instagram Business and Creator accounts.
The reason is simple: creating a location is done through a Facebook Business Page, which you have to link to your Instagram profile to get access to professional tools.
Honestly, if you're running a business, you should switch to a Business account anyway. You'll get access to critical analytics and other features you need to actually grow.
"My Business Is Online, or I Work From Home. What Should I Do?"
This is a great question, especially for service-area businesses or e-commerce shops. You don't have a storefront, but you still want to show up in local searches. The solution is to create a location tag for a more general area.
For example, you could set your location as your city ("Downtown Austin") or a specific neighborhood you serve ("Brooklyn, New York"). This gets your business on the local map without having to pin your private home address. Just keep in mind that Facebook's rules require a real geographical spot, so you can't just make up a fantasy location.
Ready to turn those new local viewers into dedicated followers? Gainsty utilizes advanced AI and expert strategies to grow your Instagram account with genuine, organic followers who genuinely care about your brand. Start growing with Gainsty today

.png&w=1920&q=75&dpl=dpl_5vvnEneLD2DAfKTSR86kjNKSWjSC)


.png&w=750&q=75&dpl=dpl_5vvnEneLD2DAfKTSR86kjNKSWjSC)