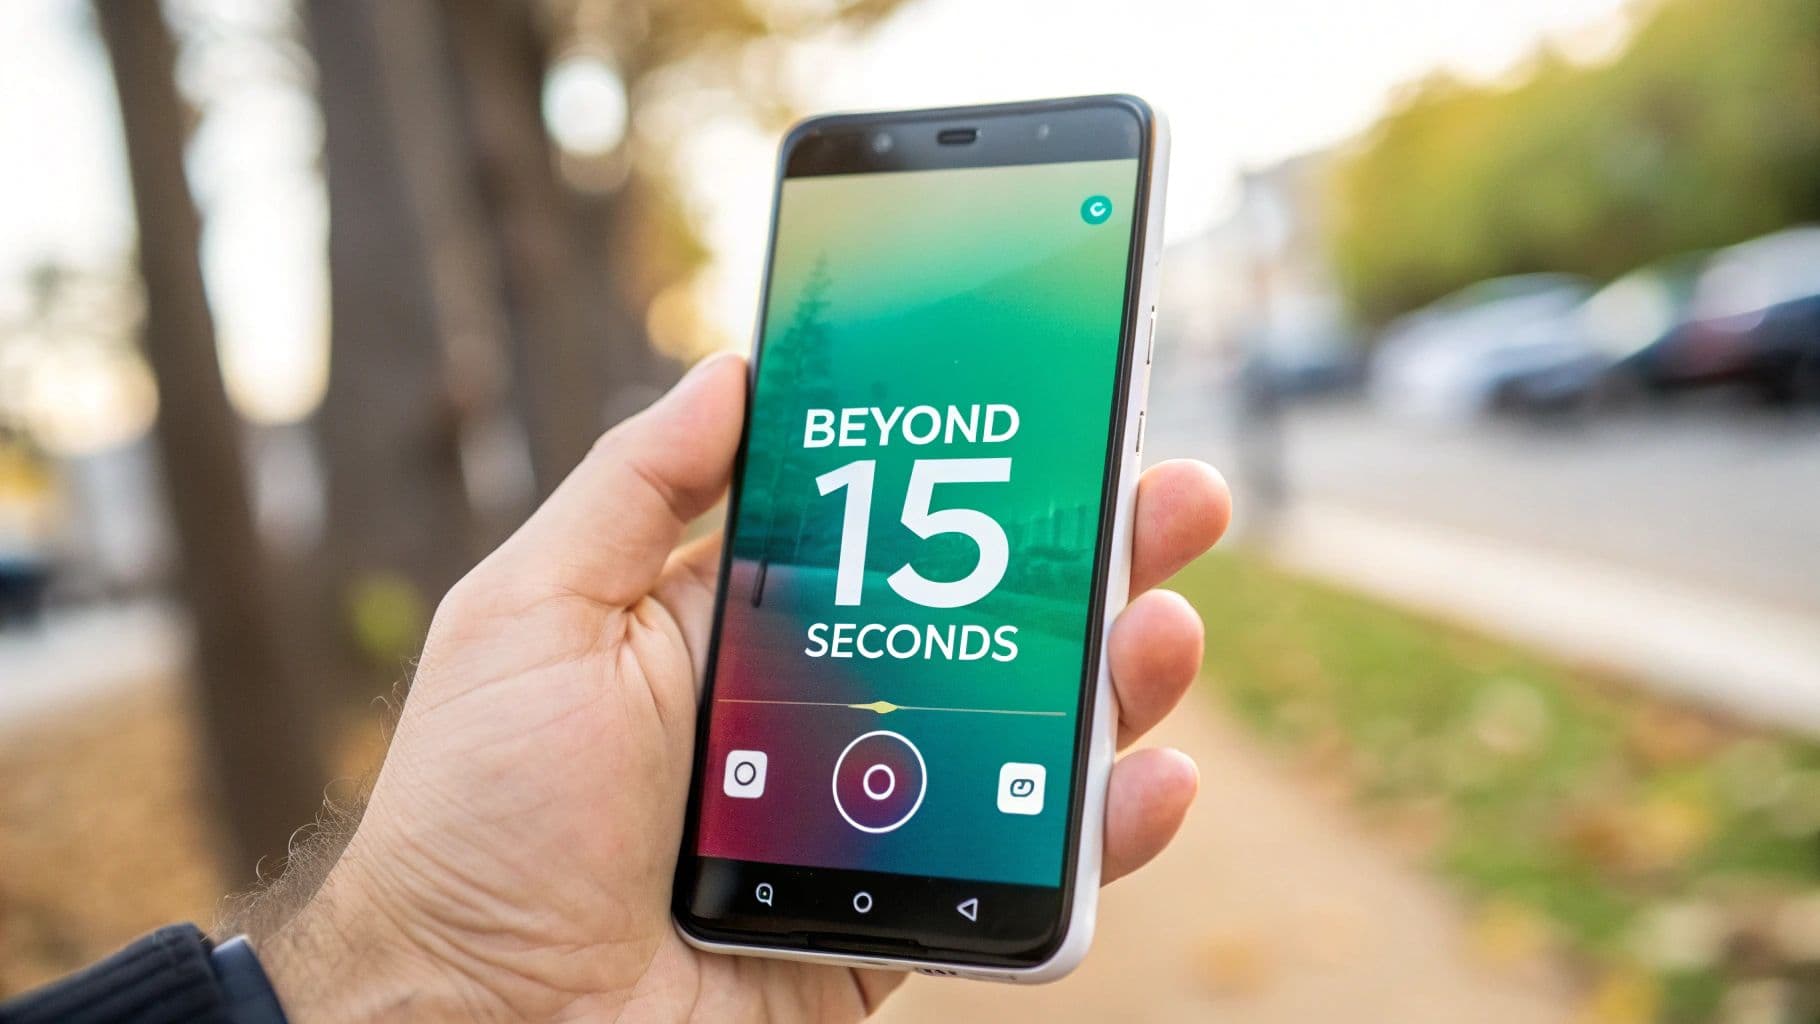
The End of 15-Second Story Limits
If you've been using Instagram for a while, you definitely know the struggle. You’d record a fantastic 45-second clip, only to watch Instagram chop it into three disjointed pieces. It was a frustrating experience for creators and, frankly, a terrible viewing experience that made followers drop off mid-story.
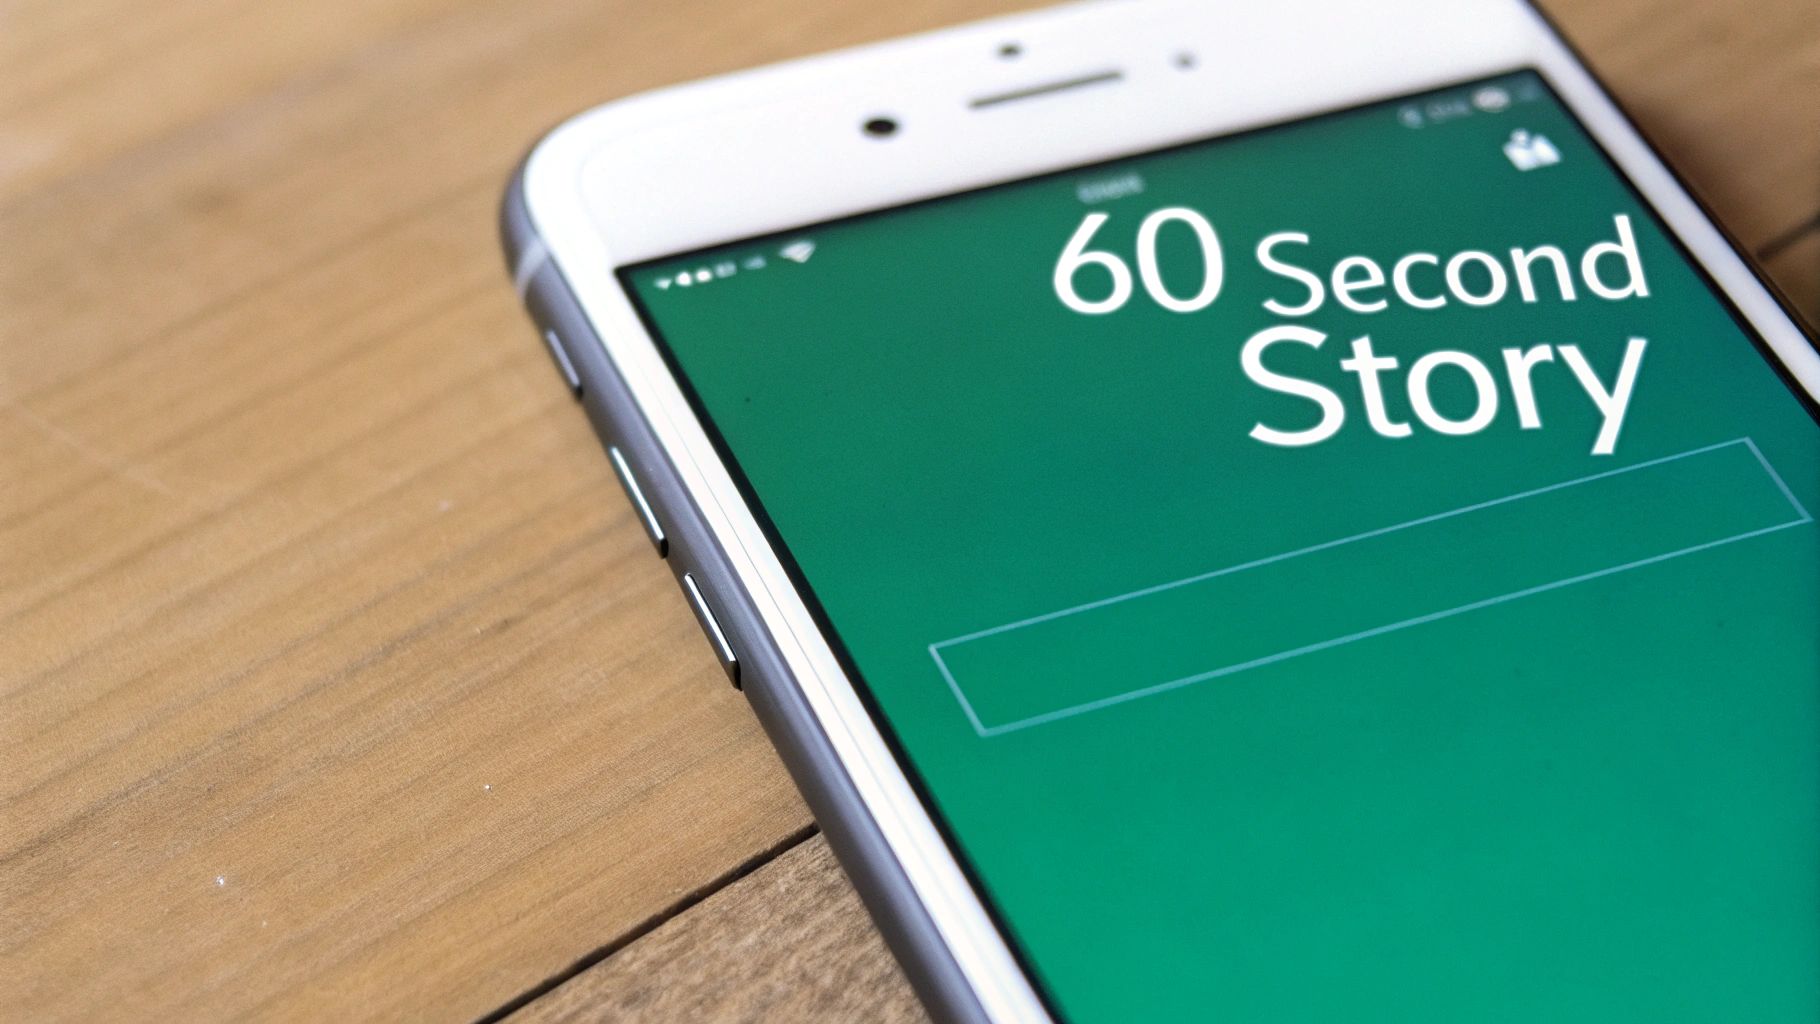
Thankfully, Instagram listened. The platform now supports single, continuous video uploads for Stories that are up to a full minute long.
A Welcome Change for Creators and Viewers
This update wasn't just a random tweak; it was a direct response to how we all use the platform now. With video being king, the 15-second cap felt incredibly outdated, especially when you looked at competitors like TikTok.
This move to 60 seconds brings some major benefits:
A Natural Storytelling Flow: You can finally build a narrative, show off a process, or just share a longer moment without those jarring cuts. It makes your Stories feel so much more professional and immersive.
Better Viewer Retention: Let's be honest, nobody enjoys tapping through a dozen little segments. A seamless video is far more engaging and keeps people watching.
A Much Simpler Workflow: Gone are the days of timing everything to 15-second intervals or using third-party apps just to piece your clips together. It’s a huge time-saver.
The change from 15 to 60 seconds is more than a technical upgrade. It’s a fundamental shift that gives creators the freedom to produce more compelling, story-driven content right inside the app.
How the New Limit Works
The concept is simple but has a massive impact. Before this update, any video over 15 seconds uploaded to your Story would be automatically sliced and diced. Now, as of 2023, you can upload a single, continuous video of up to 60 seconds.
What if your video is longer than 60 seconds? Instagram will still split it for you, but it will be broken into consecutive 60-second segments, which is still a massive improvement. You can get more details on Instagram's updated video length guidelines on foundr.com.
This means your next behind-the-scenes tour, product unboxing, or quick tutorial can finally be one fluid video. Posting Instagram Stories longer than 15 seconds isn't just a workaround anymore—it's the new standard.
To put this in perspective, here's a quick look at how video lengths compare across different Instagram features.
Instagram Video Lengths at a Glance
This table breaks down the maximum continuous video length you can upload for each of Instagram's main features.
Instagram Stories can be up to 60 seconds long.
Instagram Reels can be up to 90 seconds long.
Instagram Feed Videos can be up to 60 minutes long.
Instagram Live sessions can run for up to 4 hours continuously.
As you can see, each feature is built for a different type of content, but the 60-second Story limit is a sweet spot for short, engaging, and polished updates.
Nailing Your First 60-Second Story Upload
So, you’re ready to post your first full 60-second Story. It’s a game-changer, but there’s a bit of prep work if you want it to look sharp and professional rather than blurry and awkwardly cropped.
Honestly, the most important work happens before you even open the Instagram app. Getting your video file right from the start is the key to avoiding those frustrating compression issues.
Prepare Your Video File First
Before you do anything else, make sure your video is optimized for Instagram’s specs. Trust me, this isn't a step you want to skip.
Aspect Ratio: Always, always shoot or edit in a 9:16 vertical aspect ratio. This is what gives you that perfect, full-screen look on a phone. No black bars, no weird cropping—just a clean, professional frame.
Resolution: The sweet spot is 1080 x 1920 pixels. This resolution keeps your video looking crisp and clear on mobile screens without making the file so massive that it takes forever to upload.
File Format: Stick with .MP4. It’s the universal language of Instagram video and gives you the best balance of quality and file size.
Getting these technical specs right is absolutely crucial for quality. If you really want to get into the nitty-gritty of video settings, this guide on how to upload high-quality videos to Instagram is a fantastic resource.
The Upload and Editing Process
Once your video is saved to your camera roll and ready to go, the rest of the process is a breeze and happens right inside the Instagram app.
First, open Instagram and swipe right from your feed to pull up the Story camera. Look for the little gallery icon in the bottom-left corner and tap it to open your camera roll.
Find and select the 60-second video you just prepared. You'll see the magic happen right away—the entire one-minute clip will load into the editor as a single, unified segment at the bottom. No more 15-second chunks! This is your proof that the old way is officially gone.
This is where you bring your Story to life. Instagram's built-in editor has everything you need. Throw in a poll sticker to get your audience talking, add captions so people can watch with the sound off, or find a trending track to match the vibe.
When you’re happy with how it looks, just tap "Your Story" to post it. Your followers will now get a smooth, uninterrupted one-minute video. It lets your story flow the way it was meant to, without any of those awkward cuts.
If you’re creating longer content regularly, looking into the best UGC creator tools can make a huge difference. The right software can seriously speed up the process of editing and exporting high-quality, long-form videos.
Creative Solutions for Videos Beyond 60 Seconds
So, Instagram's built-in 60-second Story segments are a huge improvement, but what happens when your message just can't be squeezed into a single minute? Think about detailed tutorials, a mini travel vlog, or an in-depth product demo. You're going to hit that wall eventually and need a game plan for stories that go even longer.
Thankfully, you don't have to chop your content down to nothing. The two best ways to handle this are either splitting the video yourself before you upload or using a dedicated app to do the heavy lifting for you.
This workflow gives you a bird's-eye view of how to prep and upload longer stories, no matter which route you take.
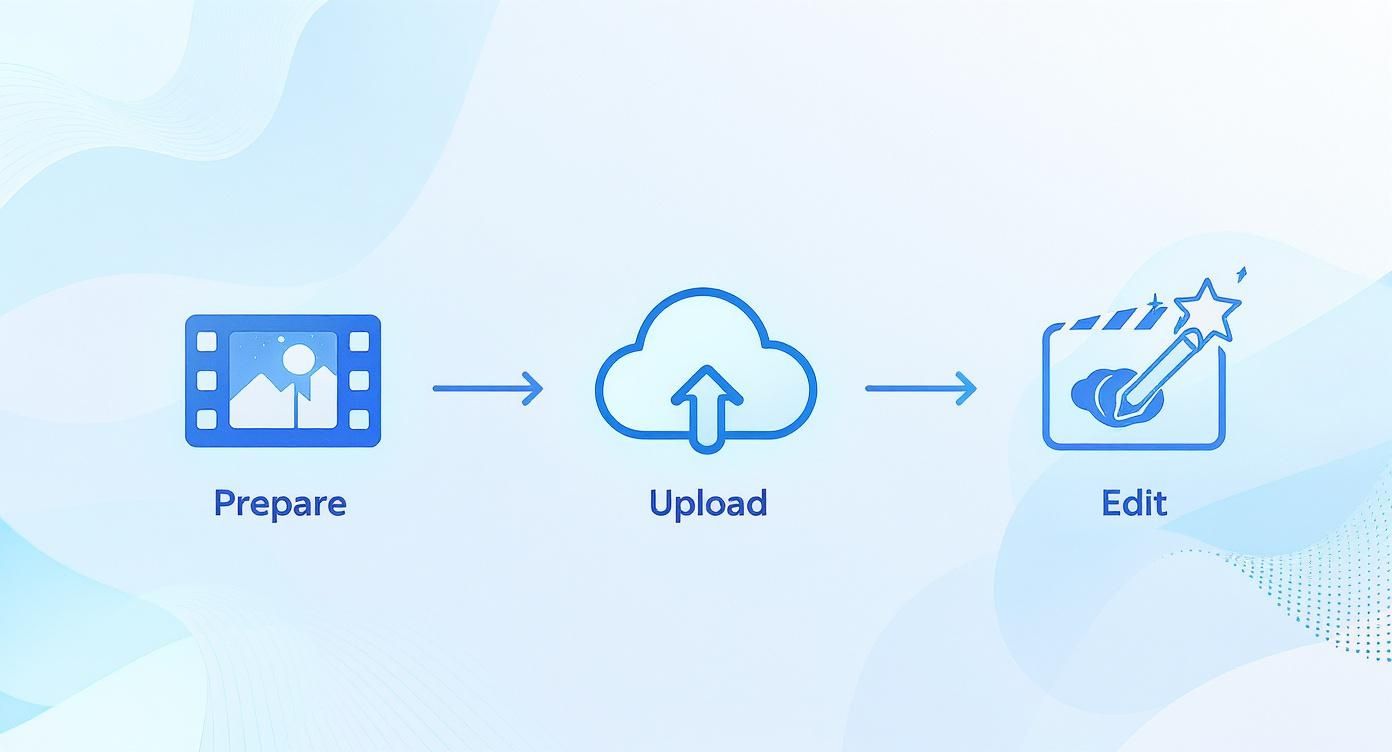
As you can see, the core process is the same: prepare your clips, upload them in order, and add your final touches. The only difference is how you get those clips ready.
Manually Splitting Your Videos for Seamless Stories
Going the manual route gives you absolute control over how your story feels. It means you’ll use a video editor on your phone or desktop to slice your longer video into perfect 60-second segments before you even open the Instagram app.
This might sound like a lot of work, but modern editors make it surprisingly simple.
Let's say you have a two-minute video. You'd just split it into two clean, one-minute clips. The real magic, though, is in the transitions. The goal is to make the jump from one segment to the next feel smooth and intentional, not like a jarring mistake.
Here are a few pro tips I've picked up for making those cuts feel invisible:
Cut on Action: End one clip and start the next right in the middle of a movement. This is a classic filmmaking trick that your viewer’s brain will naturally smooth over.
Use Audio Bridges (J-Cuts & L-Cuts): Let the sound from the upcoming clip start just a split second before the video changes. This technique pulls your audience into the next scene without them even realizing it.
Film in Chapters: When you're recording, try to think in one-minute chunks. It makes finding natural and logical places to cut so much easier later on.
Manually editing your clips takes a bit more time, but the payoff is a polished, professional narrative that flows perfectly from one Story to the next.
Automating the Process with Third-Party Apps
If editing isn't your thing or you're just short on time, third-party apps are a lifesaver. Tools like CutStory, StorySplitter, or even the video features in InShot are built to do one thing well: chop longer videos into Instagram-ready clips automatically.
You just upload your full-length video into the app, and it handles all the splitting for you.
These apps can save you a ton of time and remove any guesswork. Once it's done, the app will save all the individual clips to your camera roll, numbered in the correct order, ready for you to upload straight to your Story.
The only real trade-off is giving up some creative control over where the video gets cut. But for creators who value speed and efficiency, these apps are an absolute must-have.
Choosing the Right Method for Your Content
So, which approach is best? Honestly, it boils down to your specific content, your workflow, and how much time you have. Both get the job done.
To help you figure it out, I’ve put together a quick comparison of the two methods.
Comparing Methods for Longer Story Content
Deciding between manual control and automated speed is a common dilemma for creators. This li breaks down the pros and cons to help you choose the best fit for your brand and schedule.
Manual splitting gives you full creative control over transitions and pacing, doesn’t require extra apps, and results in a more polished, professional look. However, it’s more time-consuming and requires some basic editing skills. This method is best for creators who care about high-quality storytelling and maintaining a specific brand aesthetic.
Third-party apps make the process incredibly fast and efficient, and they’re very simple to use with zero editing experience. The downside is that you have less control over the exact cut points, and some free versions may add a watermark. This option is ideal for busy social media managers, brands posting lots of content, or anyone who prioritizes speed.
Ultimately, whether you choose to edit by hand or let an app do the work, you're on the right track. Both paths lead to the same goal: creating a longer, engaging Story that keeps your audience tapping to see what happens next.
Using Reels to Tell Longer Stories
Sometimes, even a full minute just won't cut it. What if you’ve got a detailed tutorial, a stunning travel diary, or an in-depth product feature that needs more room to breathe? This is where a smart workaround comes into play—a technique savvy creators use to share much longer content without losing their Story viewers.
The answer lies in using Instagram Reels.
Instead of trying to shoehorn a five-minute video into your Stories, you upload it as a Reel and then share a compelling preview to your Story. It’s a brilliant method because it plays to the strengths of each format. As of 2025, Instagram Stories are capped at 60 seconds for a continuous clip, perfect for quick, in-the-moment updates.
Reels, on the other hand, are built for more polished, evergreen content and can be up to 15 minutes long when uploaded. This strategy lets you hook viewers with a teaser in your Story and drive them straight to your more valuable, long-form video.
The Reel-to-Story Workflow
The process itself is pretty simple, but making it feel seamless and engaging requires a bit of strategy. You're not just dropping a link; you're building a bridge that guides your audience from one part of the app to another.
Here’s how it works:
Post Your Video as a Reel: First, go through the normal steps to create a Reel. Upload your finished long-form video, add any trending audio or effects, and craft a great caption.
Pick a Great Cover: Don't skip this! Your Reel's cover image is what shows up on your profile grid. Make sure it's a high-quality, eye-catching frame that sparks curiosity.
Share it to Your Story: Once your Reel is published, tap the paper airplane icon and choose "Add to Your Story." This automatically creates a Story slide that links directly back to the full Reel.
Think of your Story share as the movie trailer for your Reel. Its only job is to get people curious enough to tap "Watch More."
Making Your Story Preview Pop
Just sharing the Reel to your Story is a start, but the default look can be a bit plain. You need to customize the preview to make it irresistible and feel like a native part of your Story, not just a lazy repost.
Add Intriguing Text: Use the text tool to overlay a question or a bold statement on the preview. Something like, "The final result will shock you..." or "Want to see my secret technique?" works wonders.
Use Stickers and GIFs: A well-placed arrow GIF pointing to the "Watch Reel" button can significantly boost clicks. Or, try a poll sticker asking, "Should I make more videos like this?" to increase interaction.
Obscure the Best Part: Here’s a clever trick: place a GIF or a large sticker over the most interesting part of the video preview. This creates an "information gap" that makes people want to click through to see what they’re missing.
This approach changes a simple share into a powerful engagement tool. If you want to dive deeper, you can learn more about how to use Instagram Reels for business in our dedicated guide.
By mastering this technique, you can effectively post Instagram stories longer than 15 seconds—or even 60 seconds—by pointing your audience exactly where your best long-form content lives.
How to Keep Viewers Hooked on Longer Stories
Posting Instagram Stories longer than 15 seconds is a great way to share more in-depth content, but it comes with a big catch: keeping people from swiping away. The longer your Story runs, the more opportunities you give someone to lose interest. You're basically fighting for every single second of their attention.
The data doesn't lie—viewer retention plummets as Stories get longer. Some research points out that even though you can post for 60 seconds, nearly half of your audience is gone after the first three seconds. Most won't stick around past the 15-second mark. This tells us one thing loud and clear: your opening has to be absolutely magnetic.
Hook Them in the First Three Seconds
Think of the first three seconds of your Story as your entire sales pitch. If you don't immediately give people a reason to stay, they won't.
Kick things off with a punch. Use a powerful visual, a bold text overlay, or an unexpected sound. It’s like a movie trailer—you want to show the most intriguing part right away. A quick-cut montage, a dramatic zoom, or a direct, thought-provoking question can be enough to stop someone from mindlessly tapping through.
Once you have their attention, guide them through a clear narrative. Even a short 60-second video needs a beginning, a middle, and an end. Build a sense of progression or a little suspense that makes viewers genuinely curious about what’s coming next. This simple structure transforms them from passive viewers into an engaged audience.
The goal isn't just to post a longer video; it's to create an interactive journey. Make your audience feel like they are part of the story, not just watching it unfold.
Drive Interaction to Fight Drop-Off
Interactive elements are your best friend when it comes to combating viewer fatigue. They break the monotony of just watching and pull your audience back in, re-engaging them right when they might be about to leave.
Try placing these stickers strategically throughout your longer Story segments:
Polls & Quizzes: Ask a simple, relevant question. A fashion blogger could show two outfits and ask, "Which one for date night?" It’s a quick tap that keeps them invested.
Question Stickers: Turn your Story into a Q&A. This is perfect for tutorials or behind-the-scenes content where you can invite followers to ask you anything.
Sliders: The emoji slider is a low-effort way for people to share their opinion. Think "How much do you love this new feature?" with a heart-eyes emoji.
Don't forget about dynamic captions, especially since so many people watch Stories with the sound off. Have your text appear word-by-word or use eye-catching color changes to highlight your main points. When you start creating longer videos, having a handle on the basics of social media video production can make all the difference in creating a professional, polished final product.
By mixing a killer hook with interactive moments, you can dramatically increase the chances that people will watch your entire Story. For more tips on boosting your performance, check out our guide on https://www.gainsty.com/blog/how-to-get-more-views-on-instagram-story.
Got Questions About Long Instagram Stories?
Even with the recent changes, a lot of people are still scratching their heads about how longer videos work on Instagram Stories. It can feel like the rules are always shifting. Let's break down some of the most common questions I hear from creators so you can get back to posting without the guesswork.
What's the Real Maximum Length for One Story Clip?
Here's the hard-and-fast rule: a single, uninterrupted video clip on your Story can be up to 60 seconds long. If you upload a video that's 58 seconds, for instance, it will post as one solid clip. No breaks, no cuts.
But that 60-second limit is firm for a single segment. You can't just upload a 90-second video file and expect it to appear as one continuous Story. Instagram will step in and either trim it or, more likely, split it up for you.
So, Can I Post a 3-Minute Video?
You sure can. The good news is that you can absolutely share a 3-minute video on your Story. The catch is that it won't be a single, seamless post. Instead, Instagram’s built-in tool will automatically chop your video into three separate 60-second clips.
Your followers will see these three clips play back-to-back in the right order. While it’s not one video, it’s a massive improvement over the old days of endless 15-second chunks. The viewing experience is much smoother now.
How Does Instagram Handle the Audio on Split Stories?
When Instagram splits a longer video for you, it actually does a decent job of making the audio flow. The sound should carry over from the end of one clip to the beginning of the next without any jarring silence or awkward cuts.
My Two Cents: If your audio is crucial—especially if you have a music bed—you'll get a much cleaner result by splitting the video yourself before uploading. Using a video editor gives you total control over the audio transitions.
For example, you can create a subtle "L-cut" where the music from the first clip bleeds into the start of the second one. It's a small pro-level trick that makes the transition virtually invisible to your audience.
Does Uploading a Longer Story Ruin the Video Quality?
Not necessarily. Video quality loss usually has more to do with your file settings than the length of the clip. To keep your 60-second Stories looking sharp, you just need to prep your file correctly.
I always stick to these specs:
Resolution: 1080x1920 pixels is the sweet spot.
Format: Stick with the.MP4 format. It's reliable.
Connection: This is a big one. Always upload over a solid Wi-Fi connection, not your mobile data.
Following these simple rules will ensure your longer videos look just as professional as your shorter ones.
Ready to take your Instagram presence to the next level? Gainsty uses advanced AI and expert strategies to help you gain real, engaged followers organically. Grow your account safely and watch your engagement soar. Start growing with Gainsty today!
.png&w=1920&q=75&dpl=dpl_CMMfGpbQuhx6dFHcgd2LtxhhEMrL)


.png&w=750&q=75&dpl=dpl_CMMfGpbQuhx6dFHcgd2LtxhhEMrL)